
Get Solution ID from Meta
This guide walks you through the steps to obtain the Solution ID from Meta using the Gupshup platform. Follow the instructions carefully to ensure proper setup
[w.e.f 12th May 2025] If you are an existing Gupshup partner and have a joint solution ID with Gupshup, please read this guide to understand how to add a solution ID with OneDirect.
NOTE : Meta developer portal exact steps and screens mentioned below might be outdated as Meta continuously works on simplifying them.
Get started -
- Start by understanding about Tech Provider Program. To know more about the benefits of becoming a Tech Provider while working with Gupshup (Meta’s Solution Partner), reach out to your regional CSM
- Follow the below steps to Signup as a Meta Tech Provider
- Follow the below steps to setup Joint Solution on Gupshup
You can also refer to Meta's article for the same steps here
Signup as a Meta Tech Provider
Step 1: Create a Meta Business Account
Create or use an existing Meta Business Account to ensure all the necessary business details (address, website, email, etc.) are provided during the verification process.
Note:
- Your business is limited to a maximum of two Meta Business Accounts.
- Make sure all information is accurate to avoid rejection during business verification. Onboarding WhatsApp services may fail if your business account is not in good standing with Meta.
Step 2: Create a Meta App
Read more about how to create an app
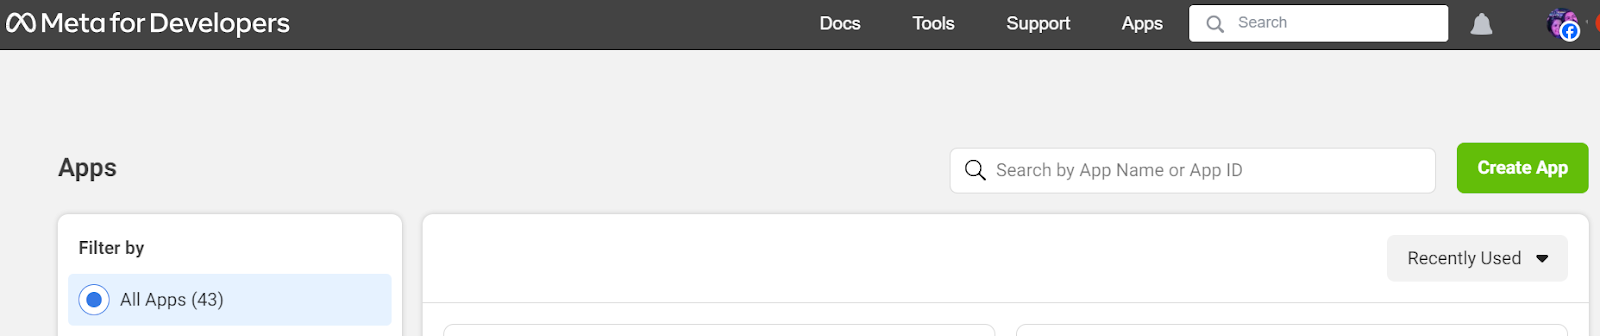
Navigate to My Apps panel, create a new business app, and connect it to your Meta Business Account. Alternatively, if you have an existing app, you can directly link it to your Meta Business Account by loading it in the App Dashboard and skipping to step 3.
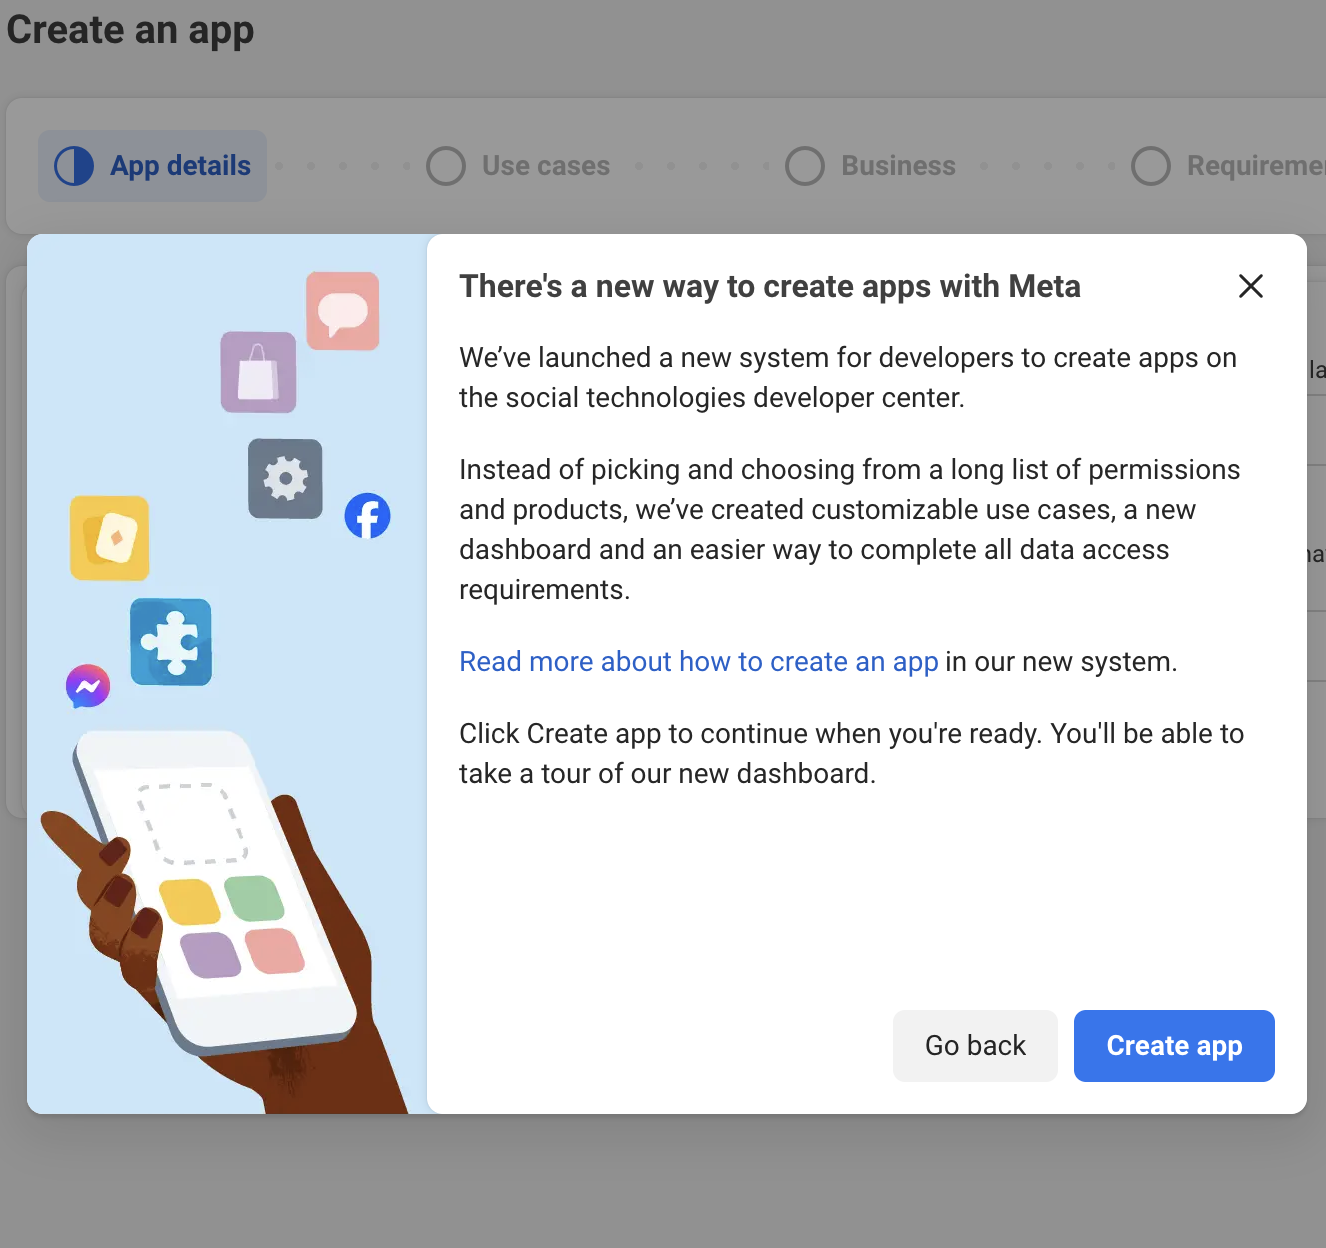
CLick on Create App
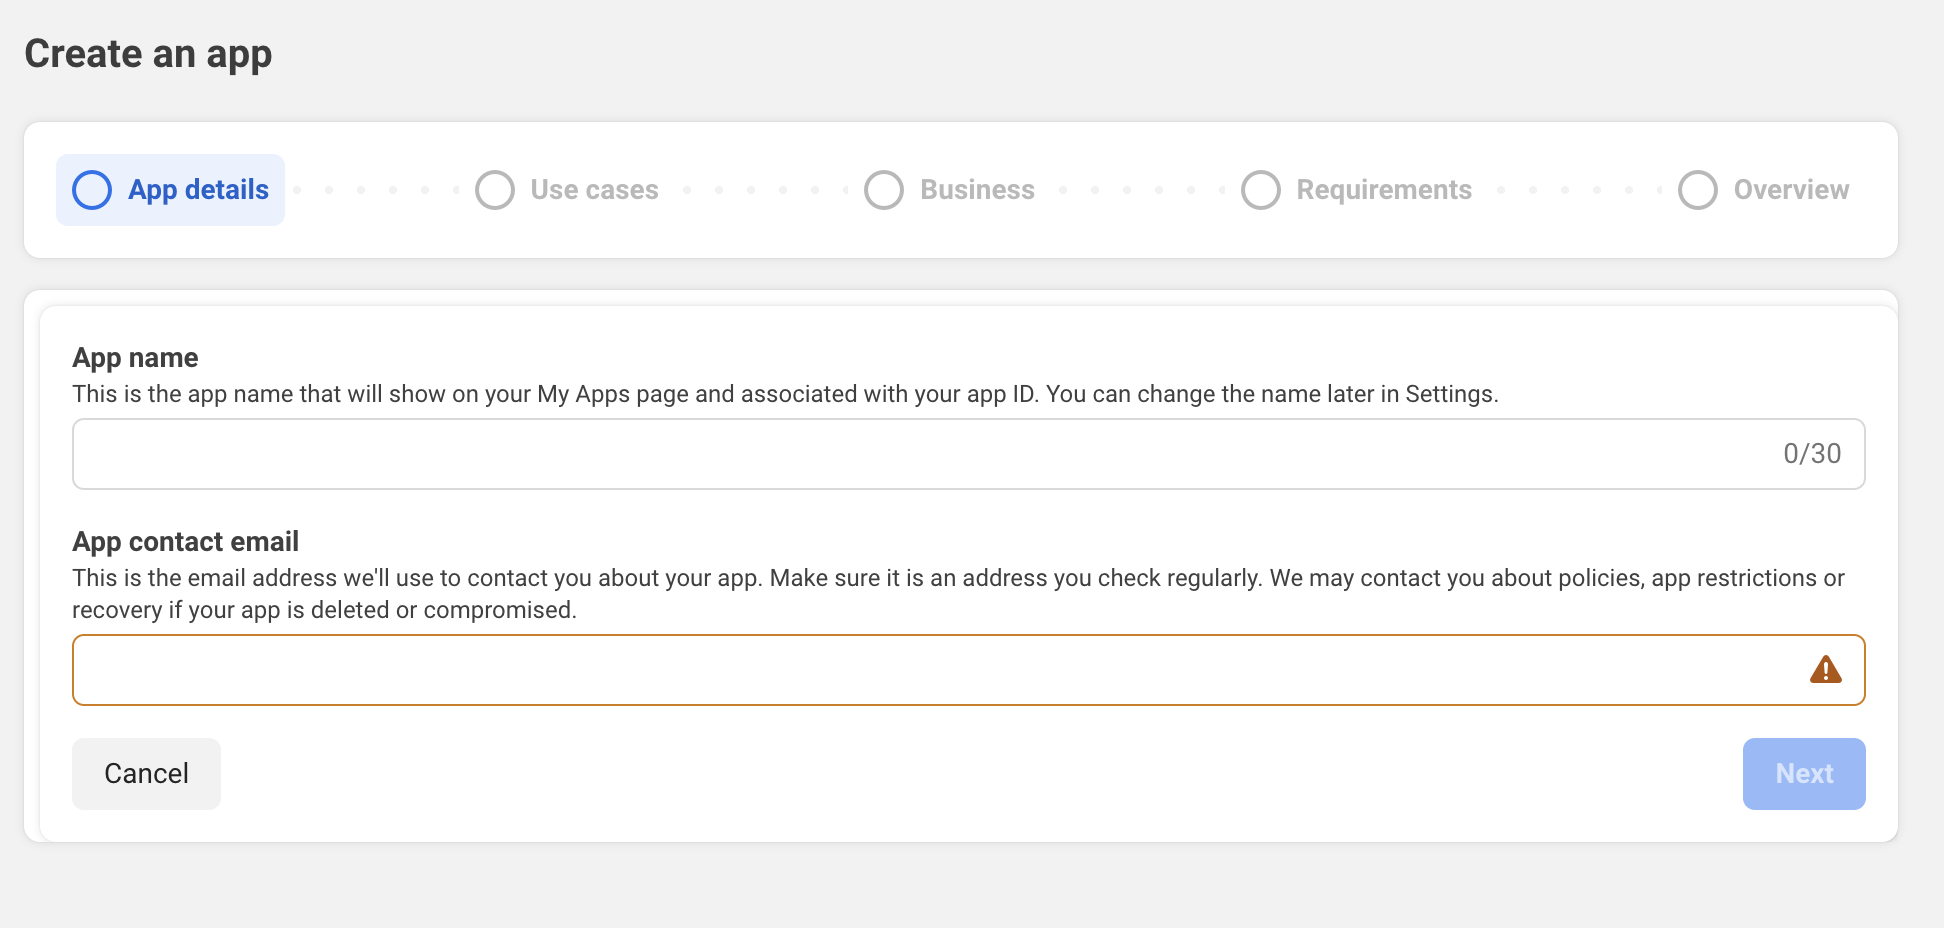
Fill in the details
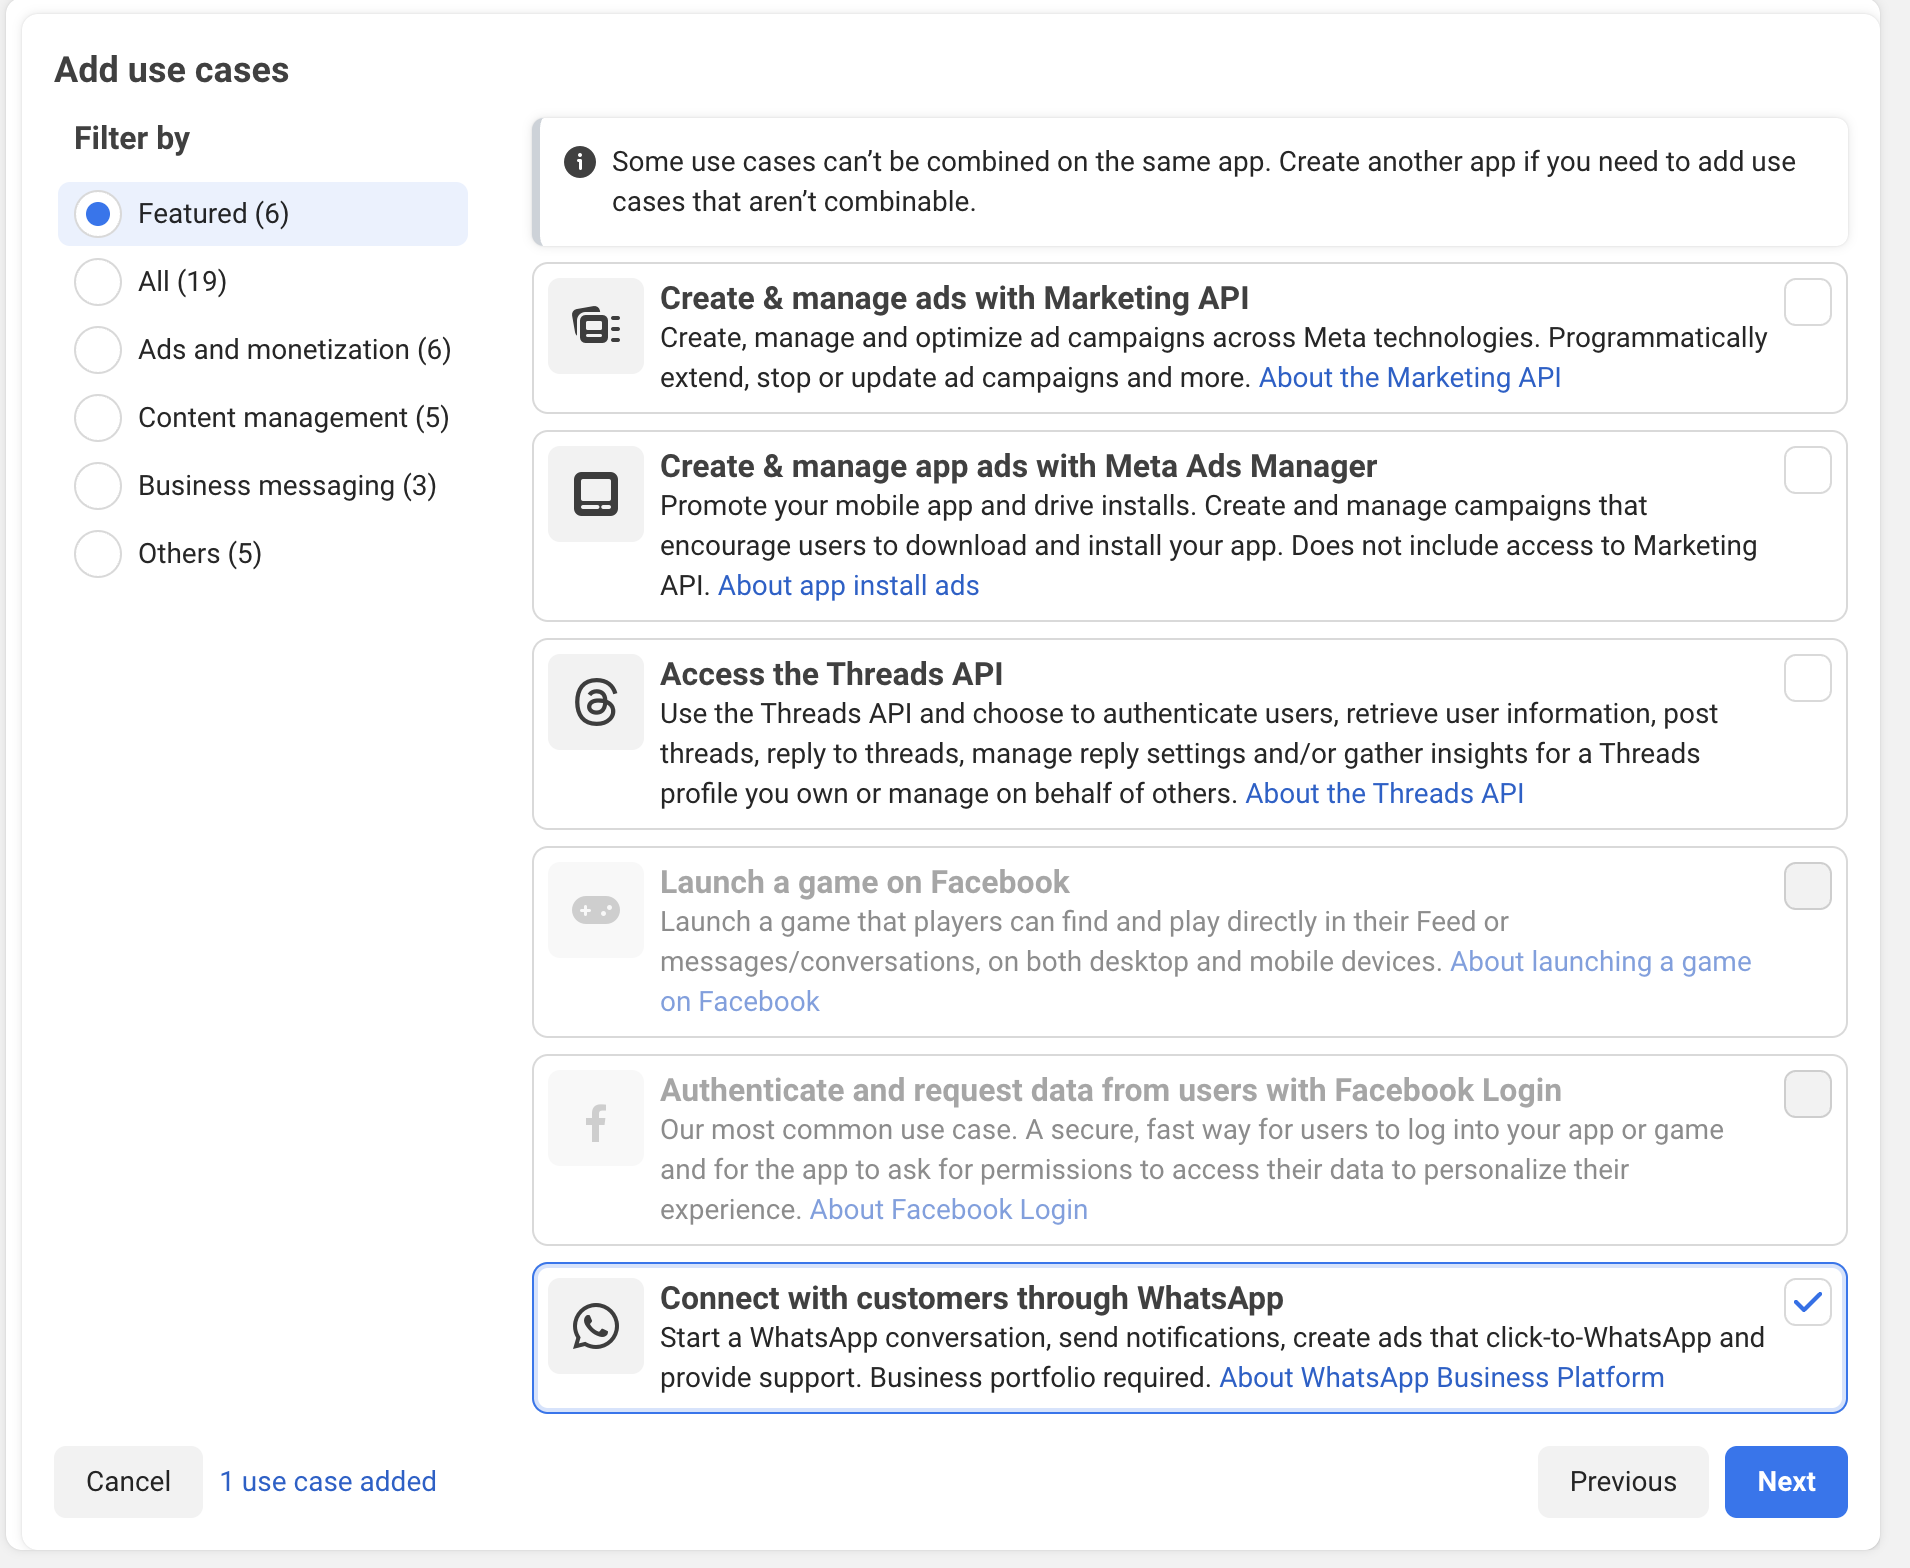
Add your usecase - Select 'connect with customers through WhatsApp'
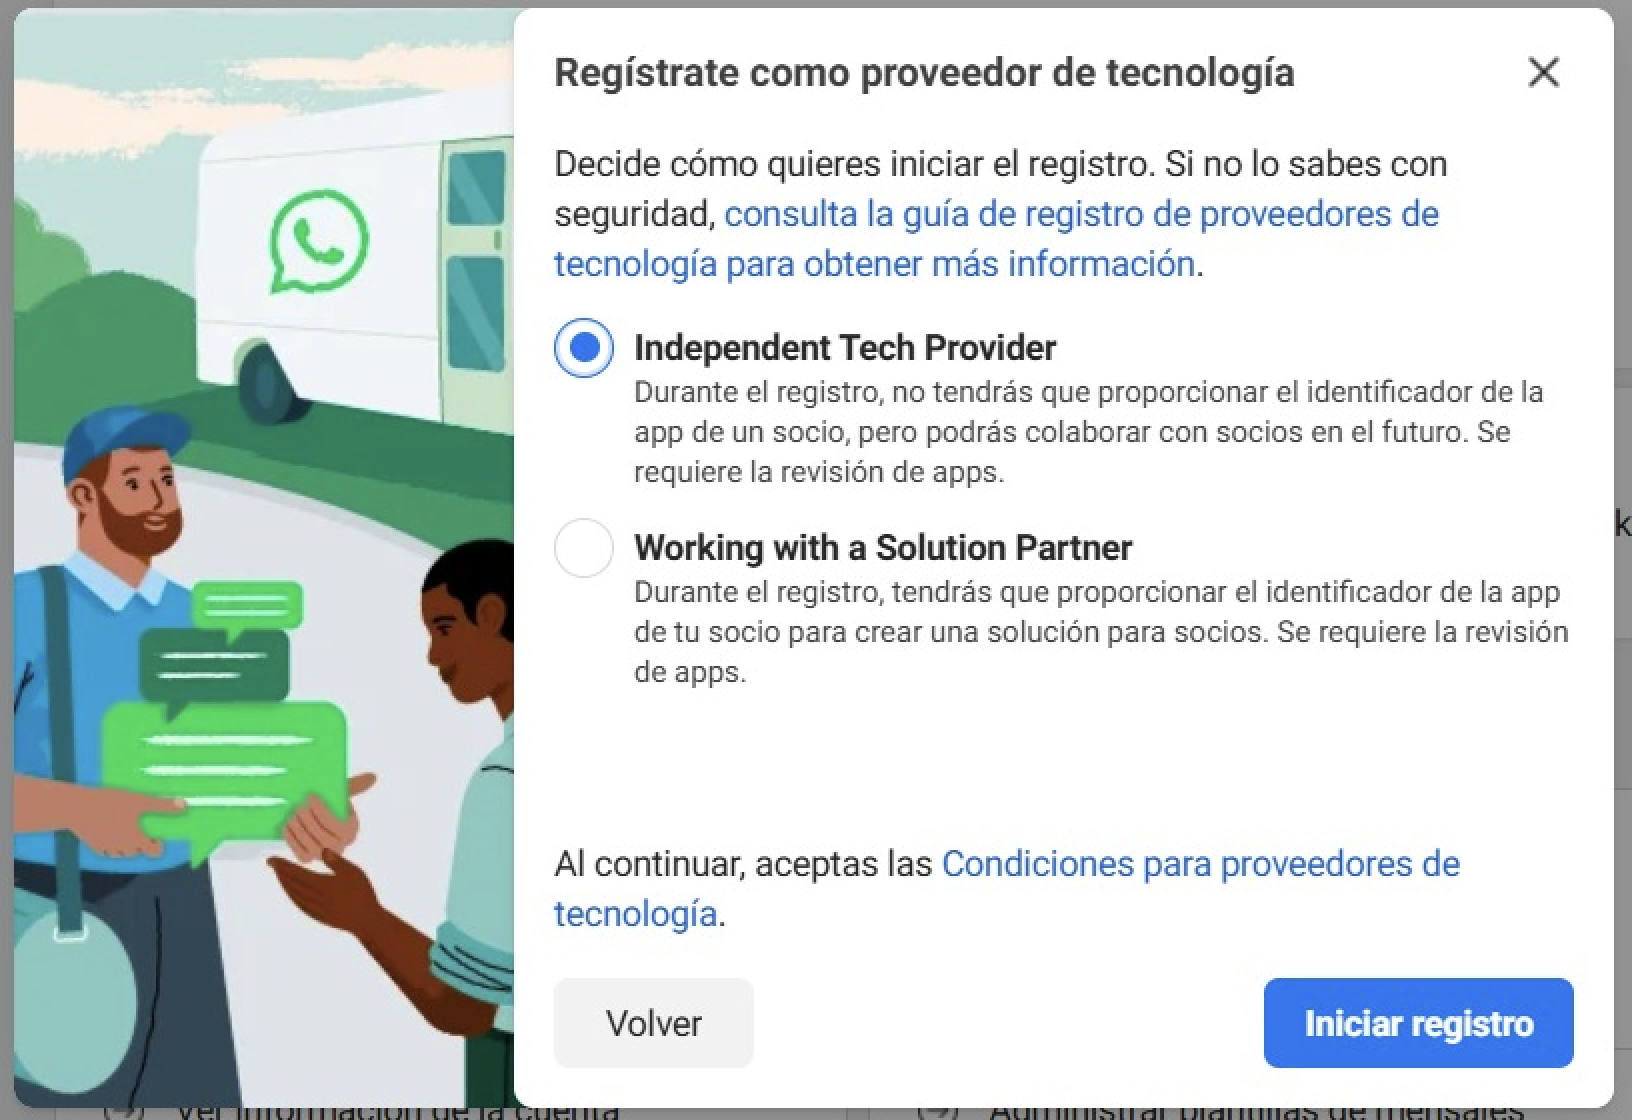
On this step or later, if you get this below option please select 'working with a solution partner'
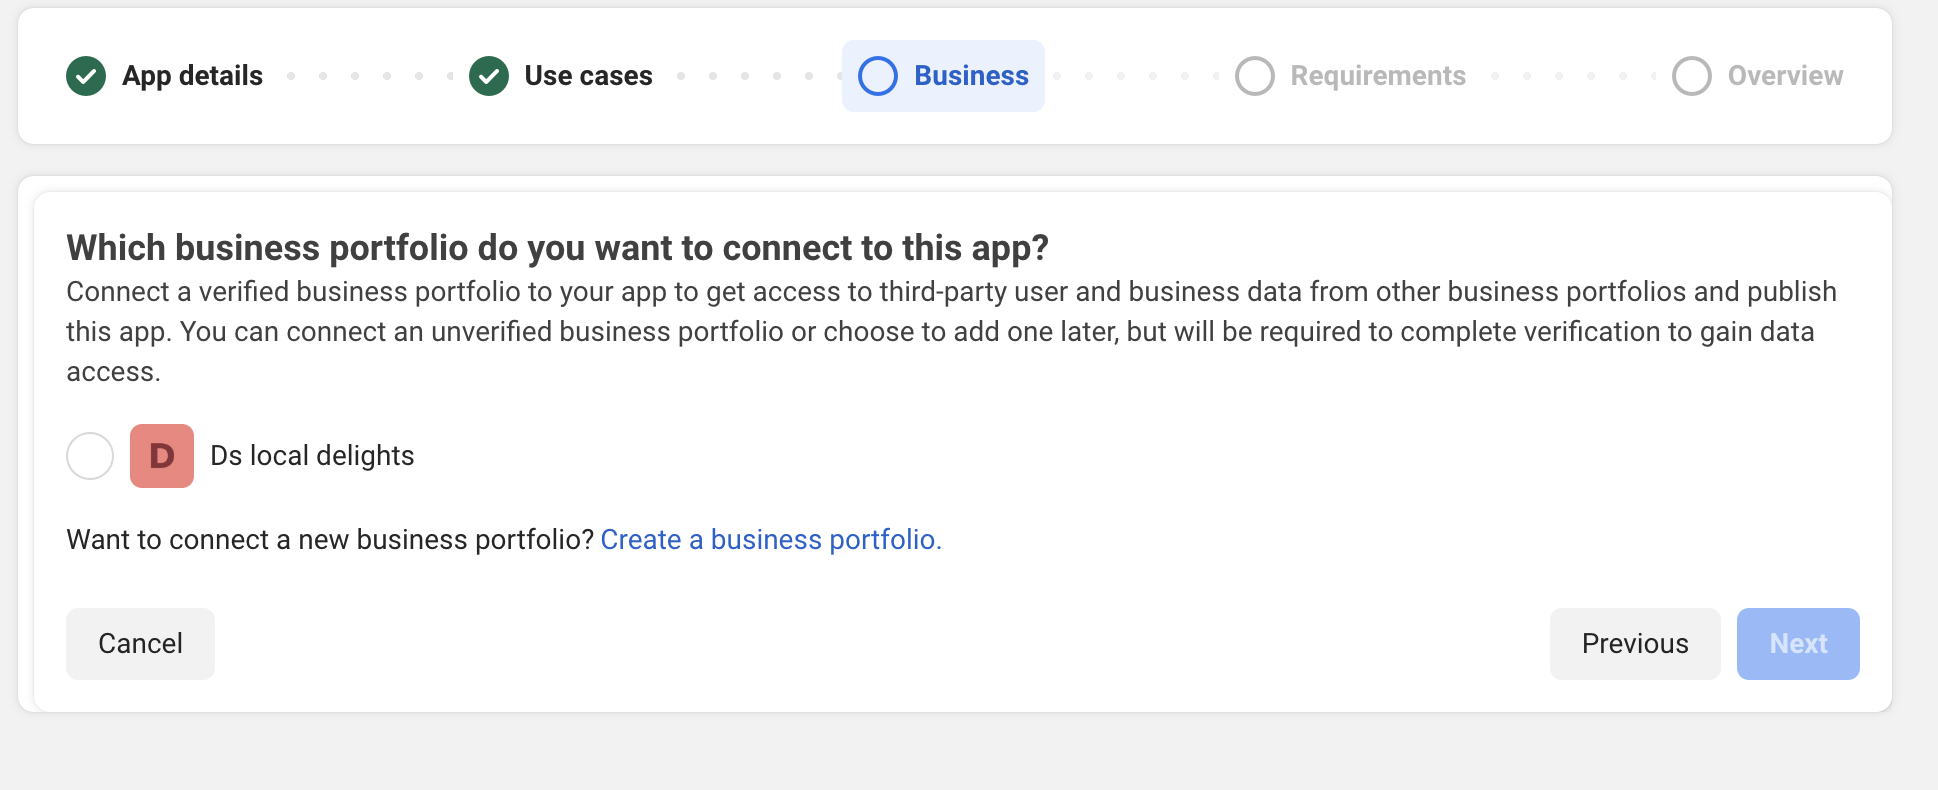
When asked, please select the business portfolio or create a new one
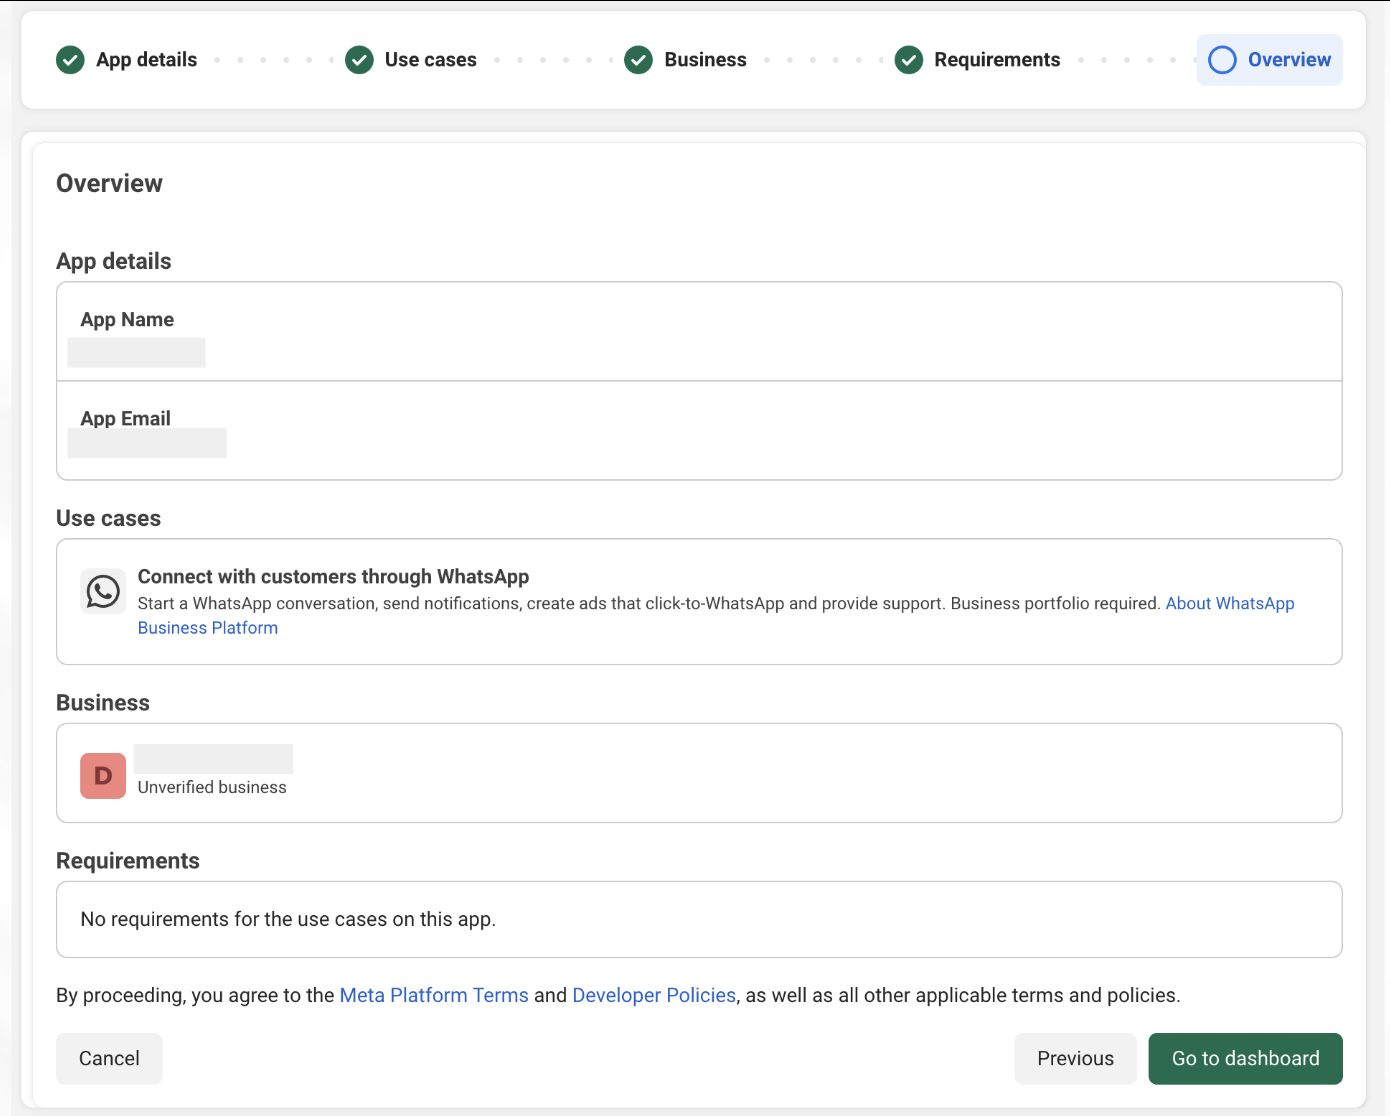
See the requirements for publishing this app

Check preview and click on GO TO DASHBOARD
Now your app is created
STEP 3 : Create Partner Solution
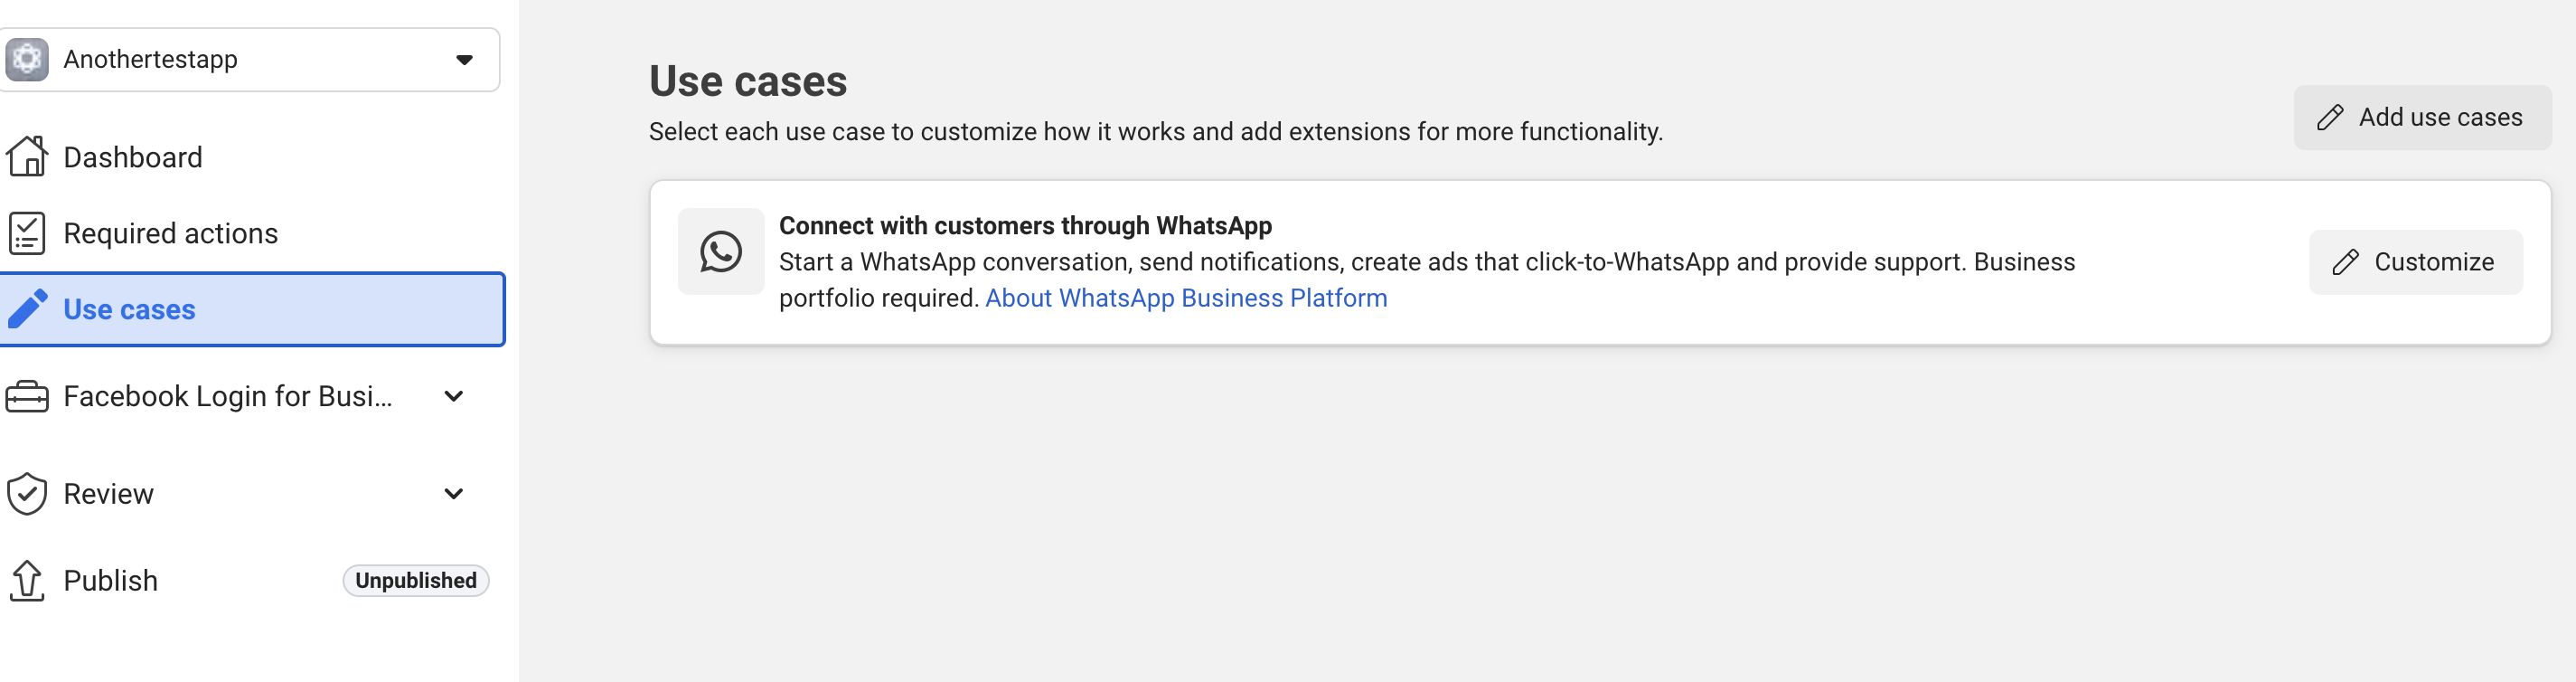
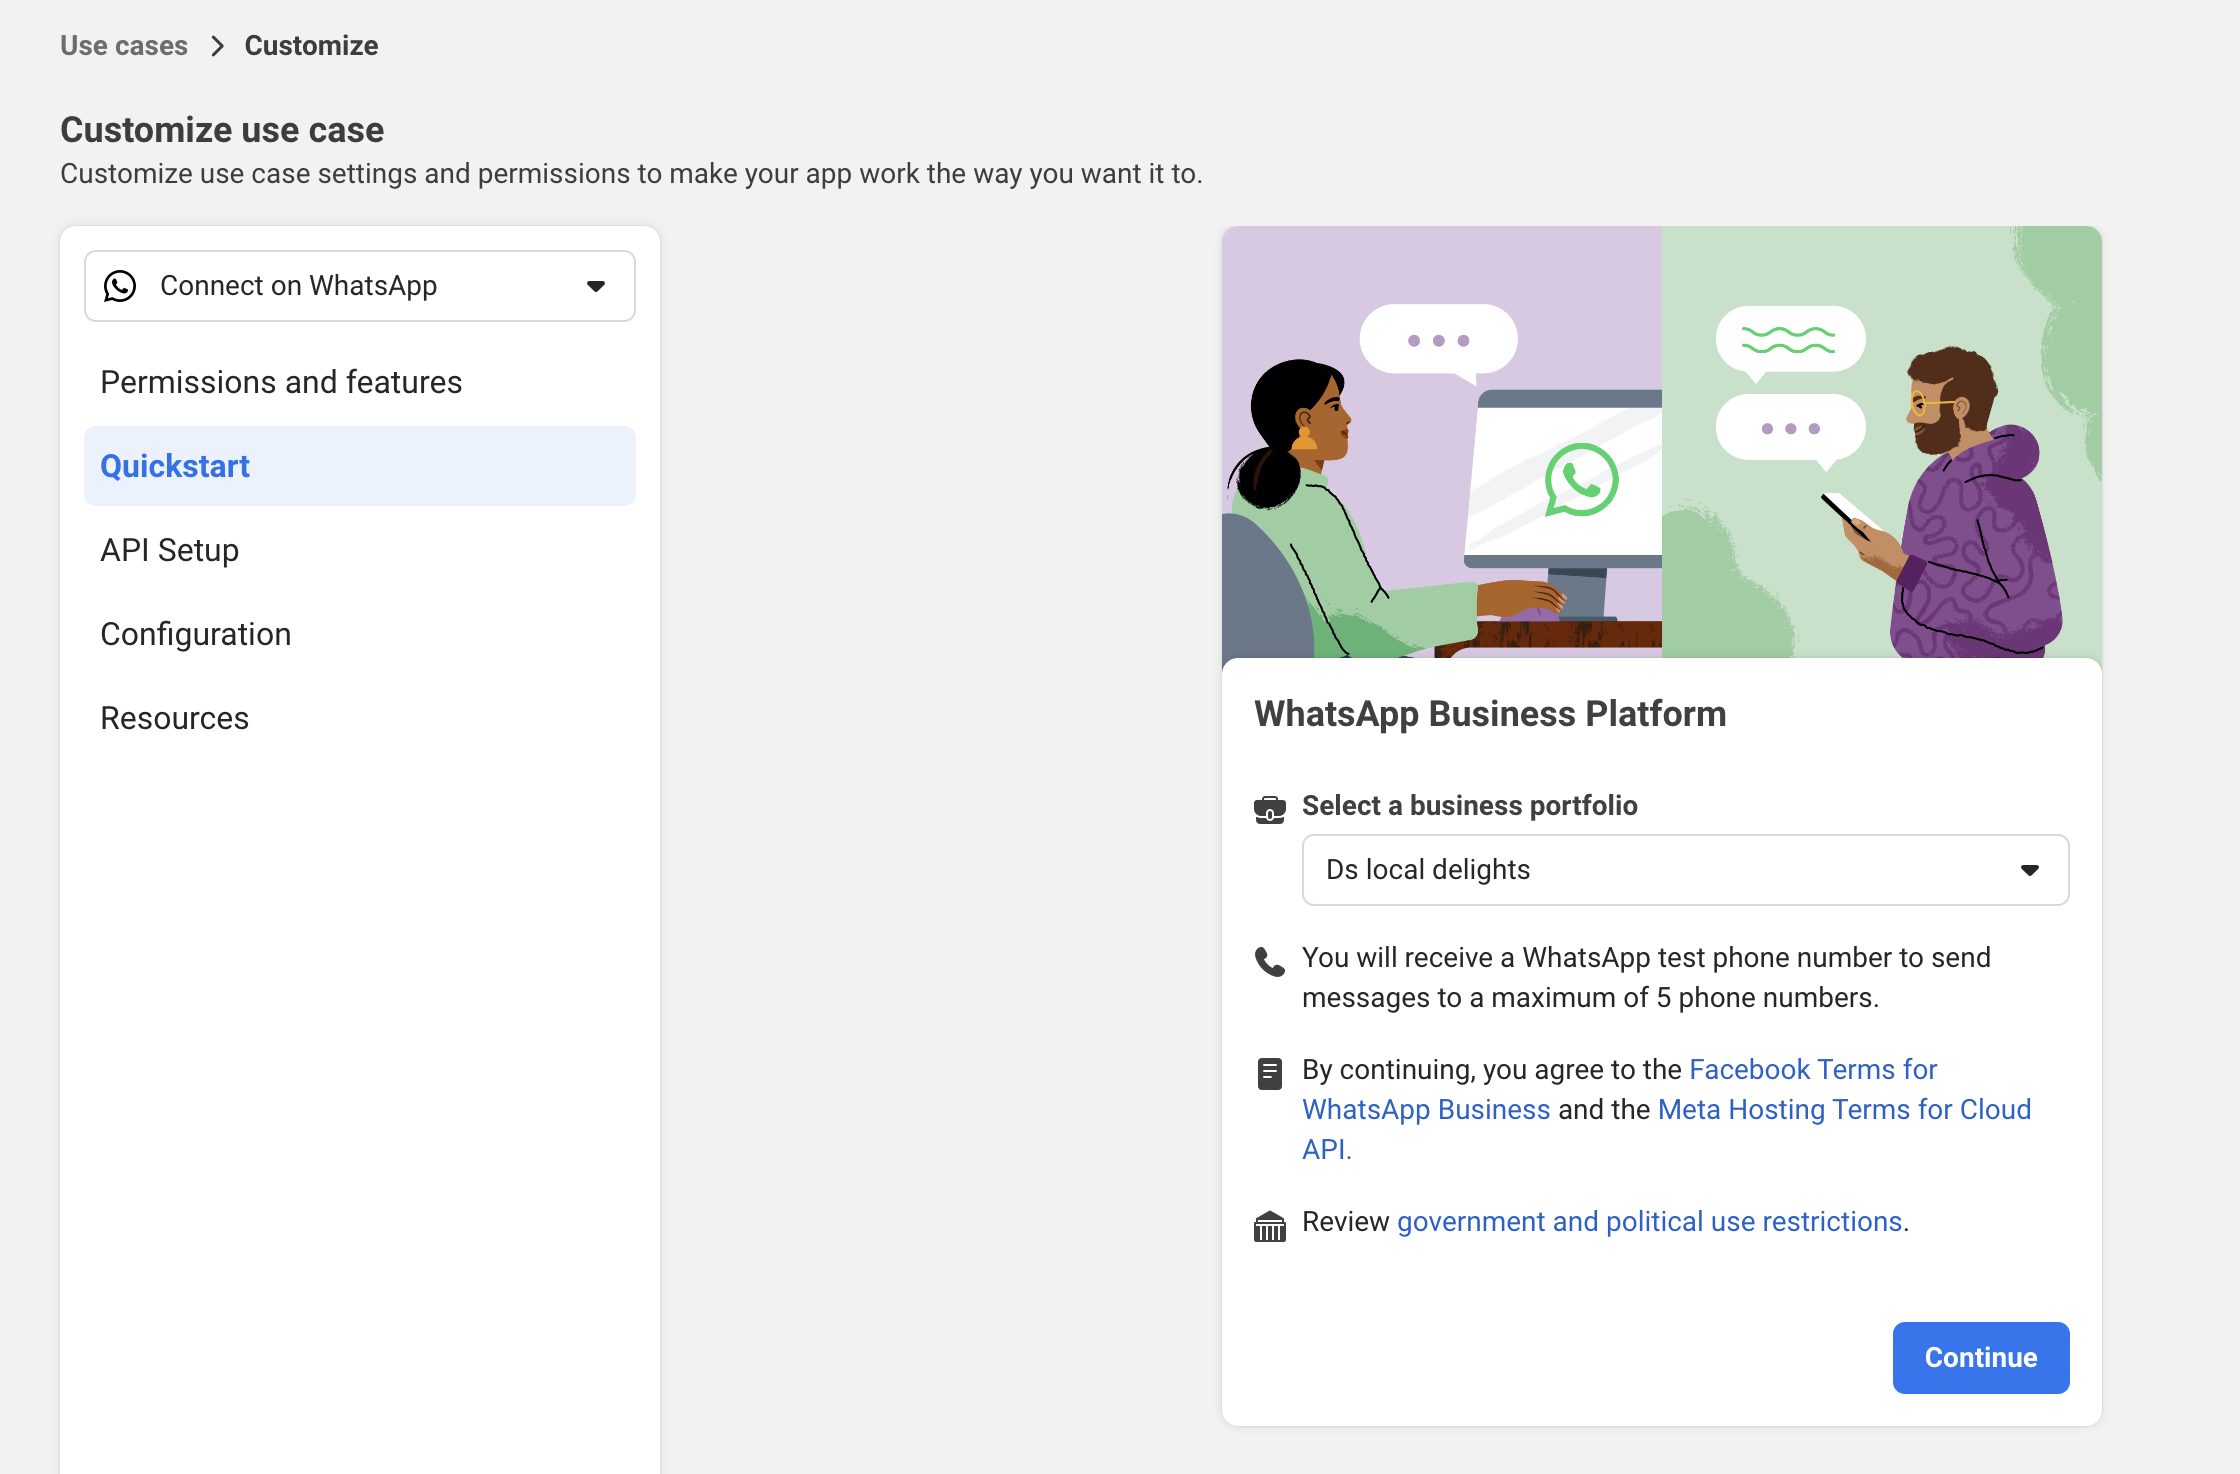
In the Meta App Dashboard go to Use cases > Customize (pencil icon) and click the Customize button for the WhatsApp use case
Click Continue
Ensure you agree to Meta’s Tech Provider Terms of Service by clicking the Start Onboarding button
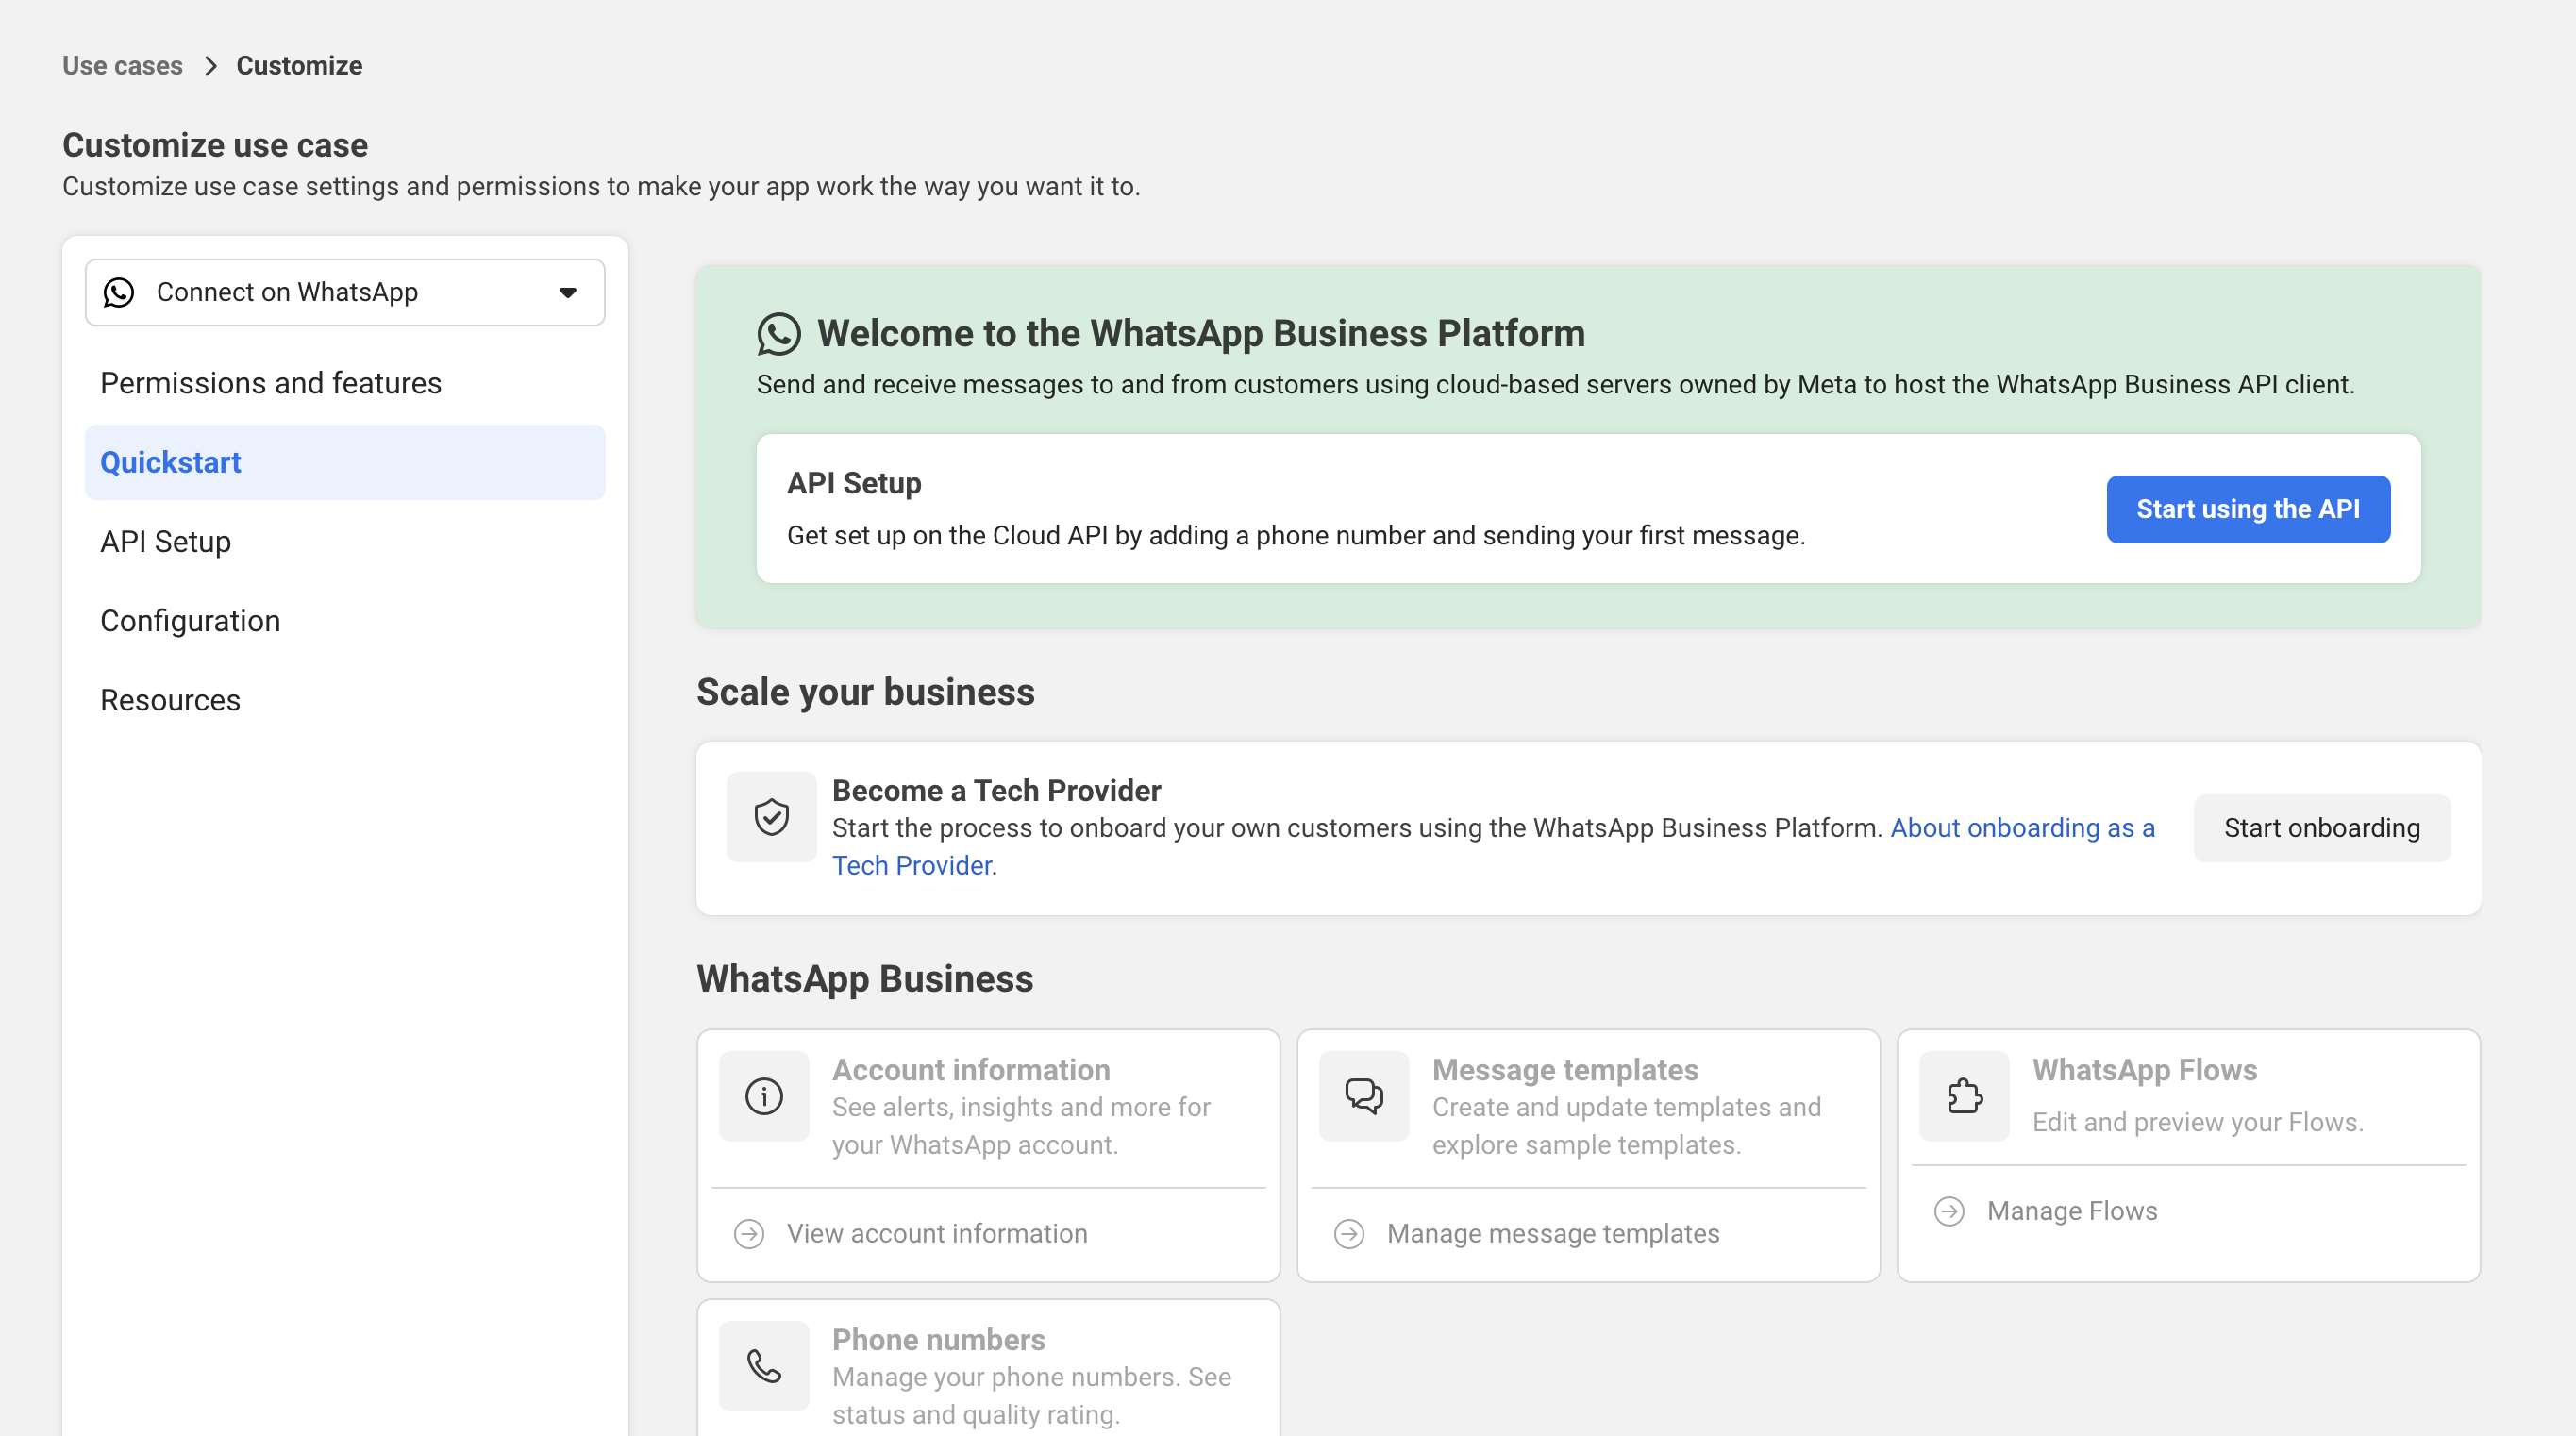
Click on 'Partner Solutions'

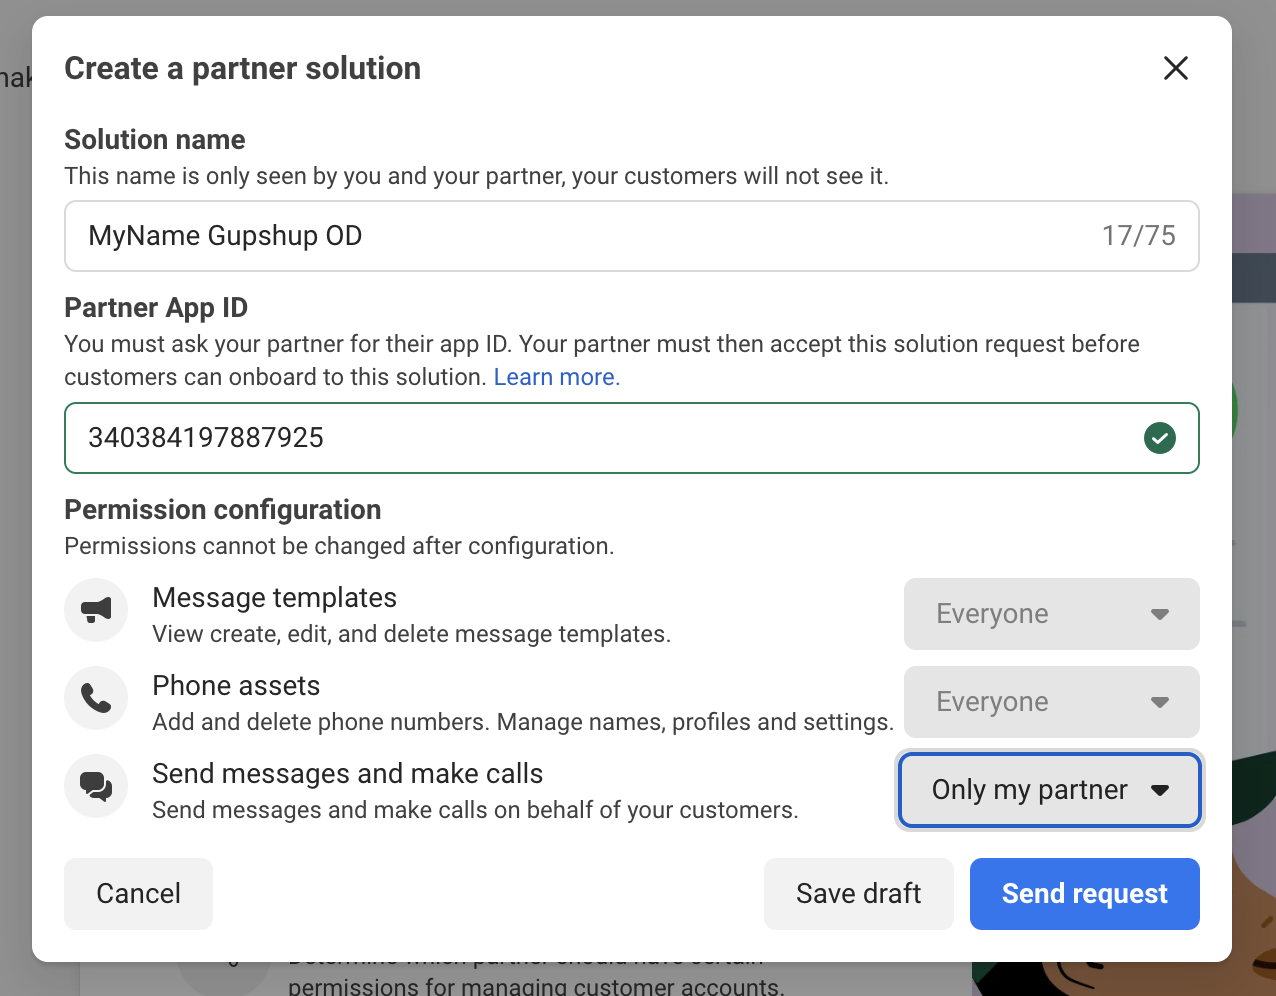
Fill in a Solution name as - 'TechProviderName Gupshup OD' e.g if your Tech Provider name is 'ABC Solutions' submit Solution name as 'ABCSolutions Gupshup OD'. (DO NOT USE SPECIAL CHARACTERS). Then enter our Meta app ID - 340384197887925 in the partner app ID in the screen below. You may see the partner name as 'OneDirect' as it is a BSP license by Gupshup dedicated for the partner ecosystem. Know more
Select 'ONLY MY PARTNER' for 'Send messsages' Permissions, else your request will be rejected by Gupshup. This is needed for Gupshup to be able to do messaging. Then submit request. NOTE : If you select 'ONLY ME' the permissions are non-editable in future. You will need to create a fresh solution ID with correct permission settings.
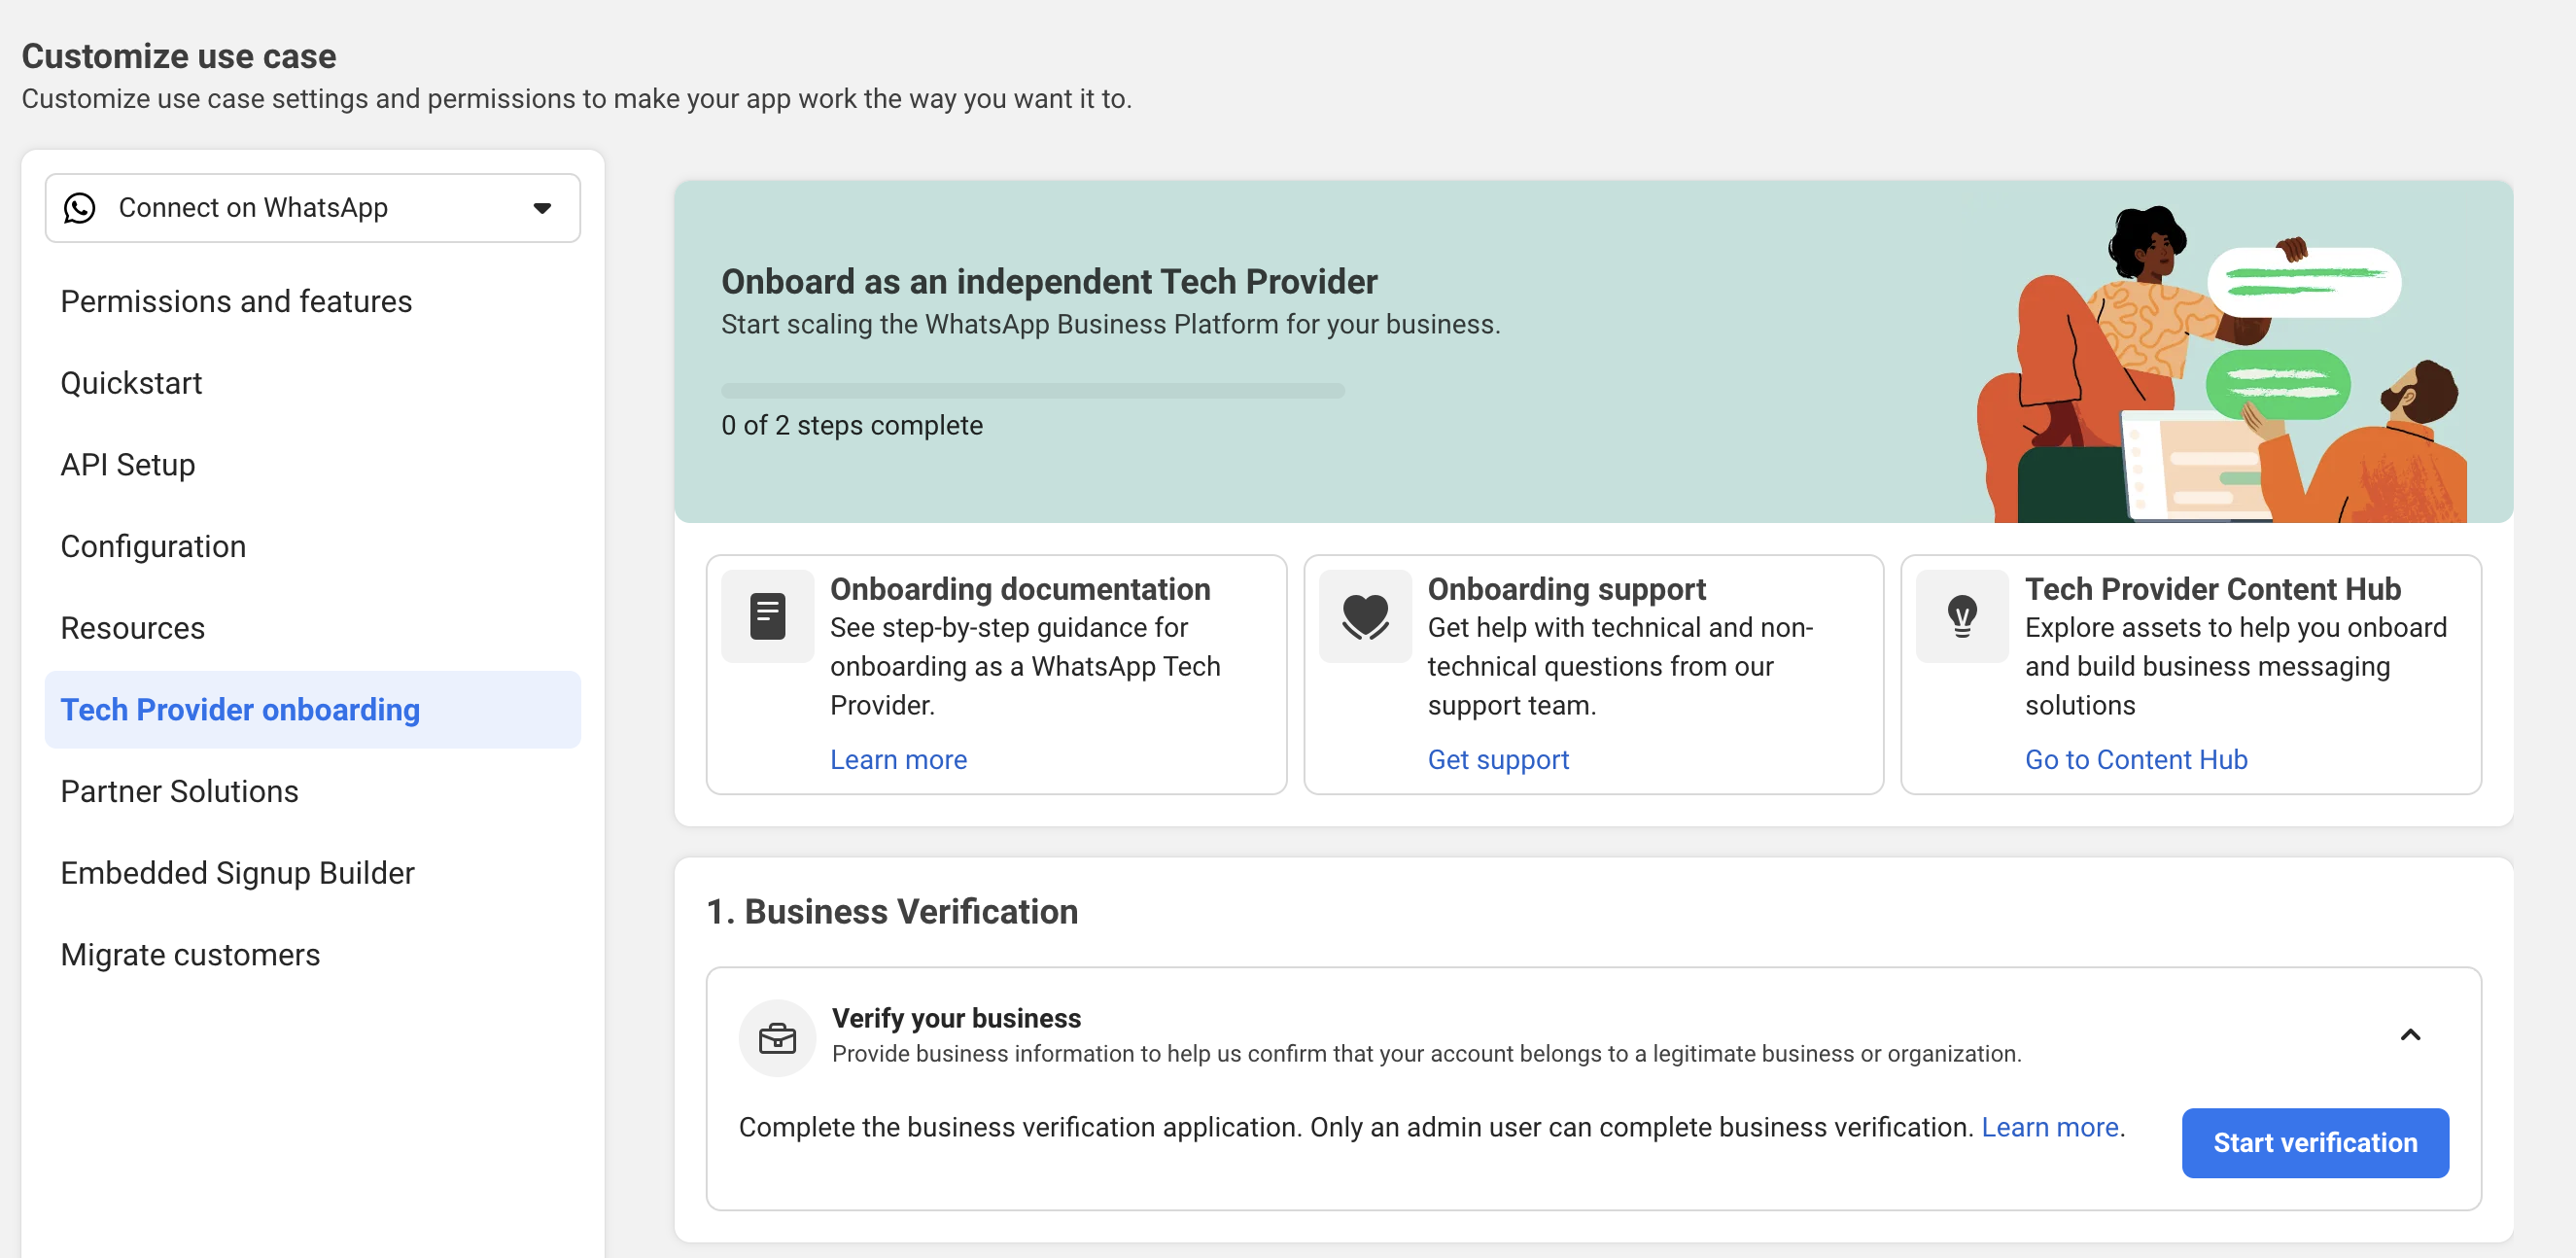
STEP 4 : Complete Business Verification
Then complete 'Business Verification'. If BM is not verified, you will need to complete the step first to move to the next one.
Refer Meta articleto know more
Click Start verification to verify your business. You’ll need the following information:
- Verify business details – Provide your business name, address, phone number, email and website for verification.
- Confirm your connection – Select a way for us to get in touch to confirm your connection to the business.
- Upload documents – You might need to upload accepted documents to confirm these details if your business is not found. Your business must be verified before you can start the app review process.
STEP 5 : Complete App Review
Once you have completed business verification, you can submit your app for App Review. You’ll need to complete the following tasks:
-
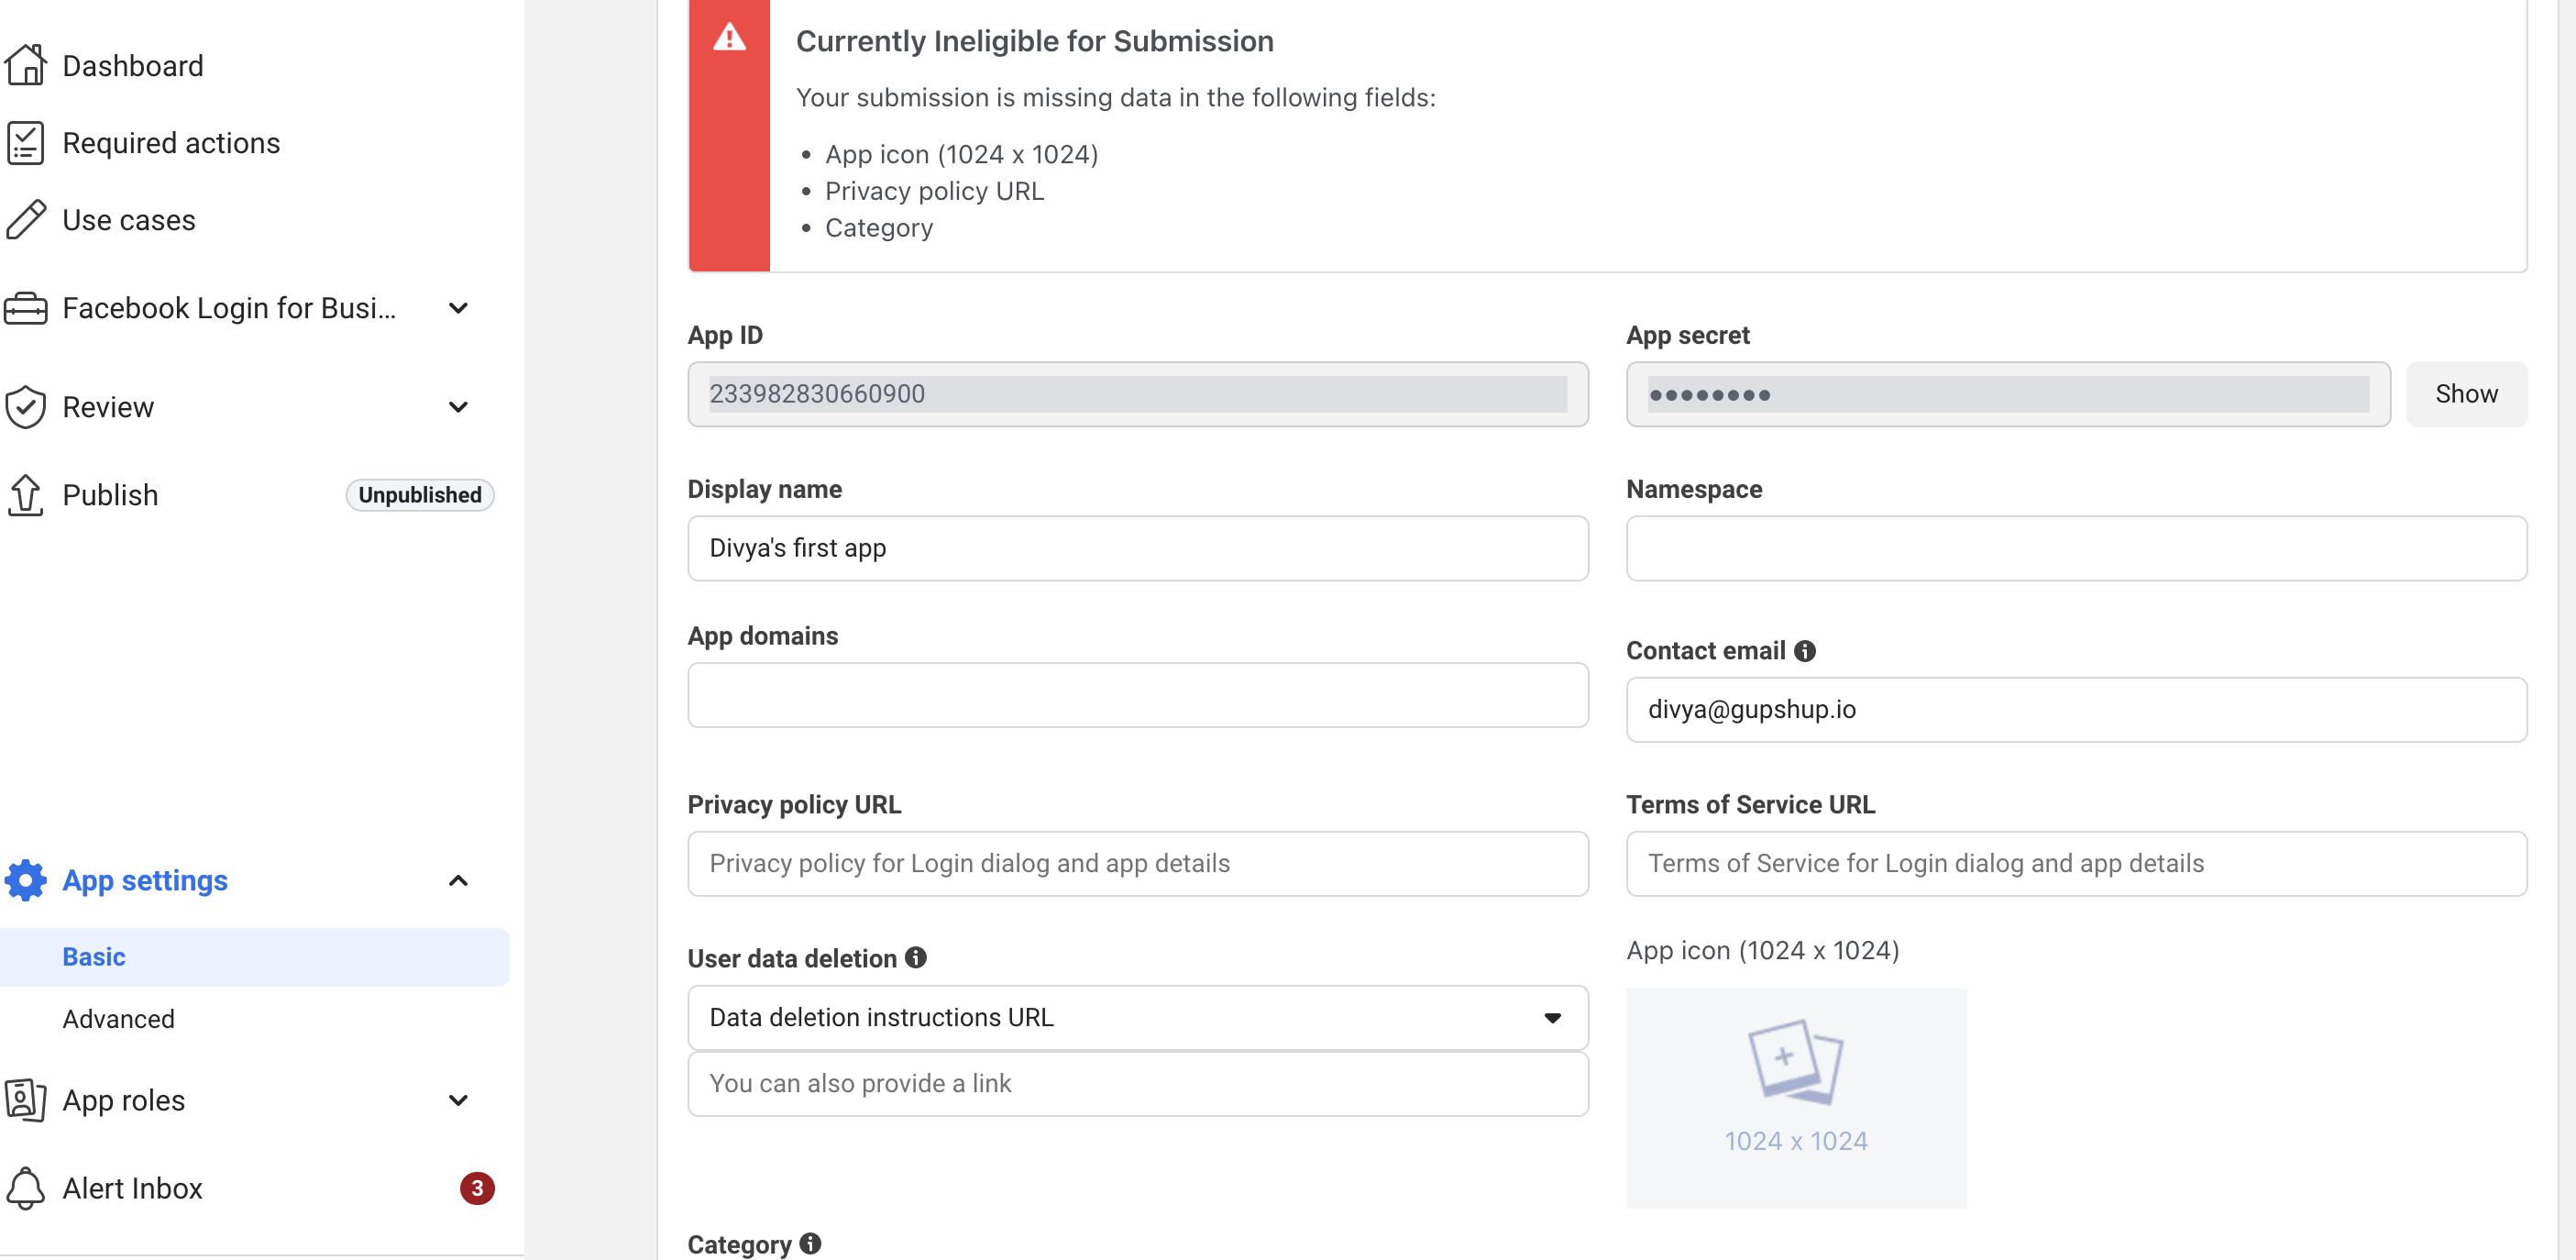
Review your app settings
Submit the App Settings in left nav drawer
Add your privacy policy and terms of service URLs. Select Messaging category.
-
Create and submit videos of your app
To pass App Review, you need to submit video evidence of your capabilities to send messages and manage templates. The first video must show a message created and sent from your app and received in the WhatsApp client (mobile app or web app). The second video must show your app being used to create a message template. As an alternative, you can capture a screen recording of your current integration with Gupshup / APIs being used by you to send a message to a WhatsApp user number you have added as a test recipient number, in lieu of sending a message using your or your partner’s app. Similarly, you can capture a screen recording of the WhatsApp Manager being used by you to create a template message. -
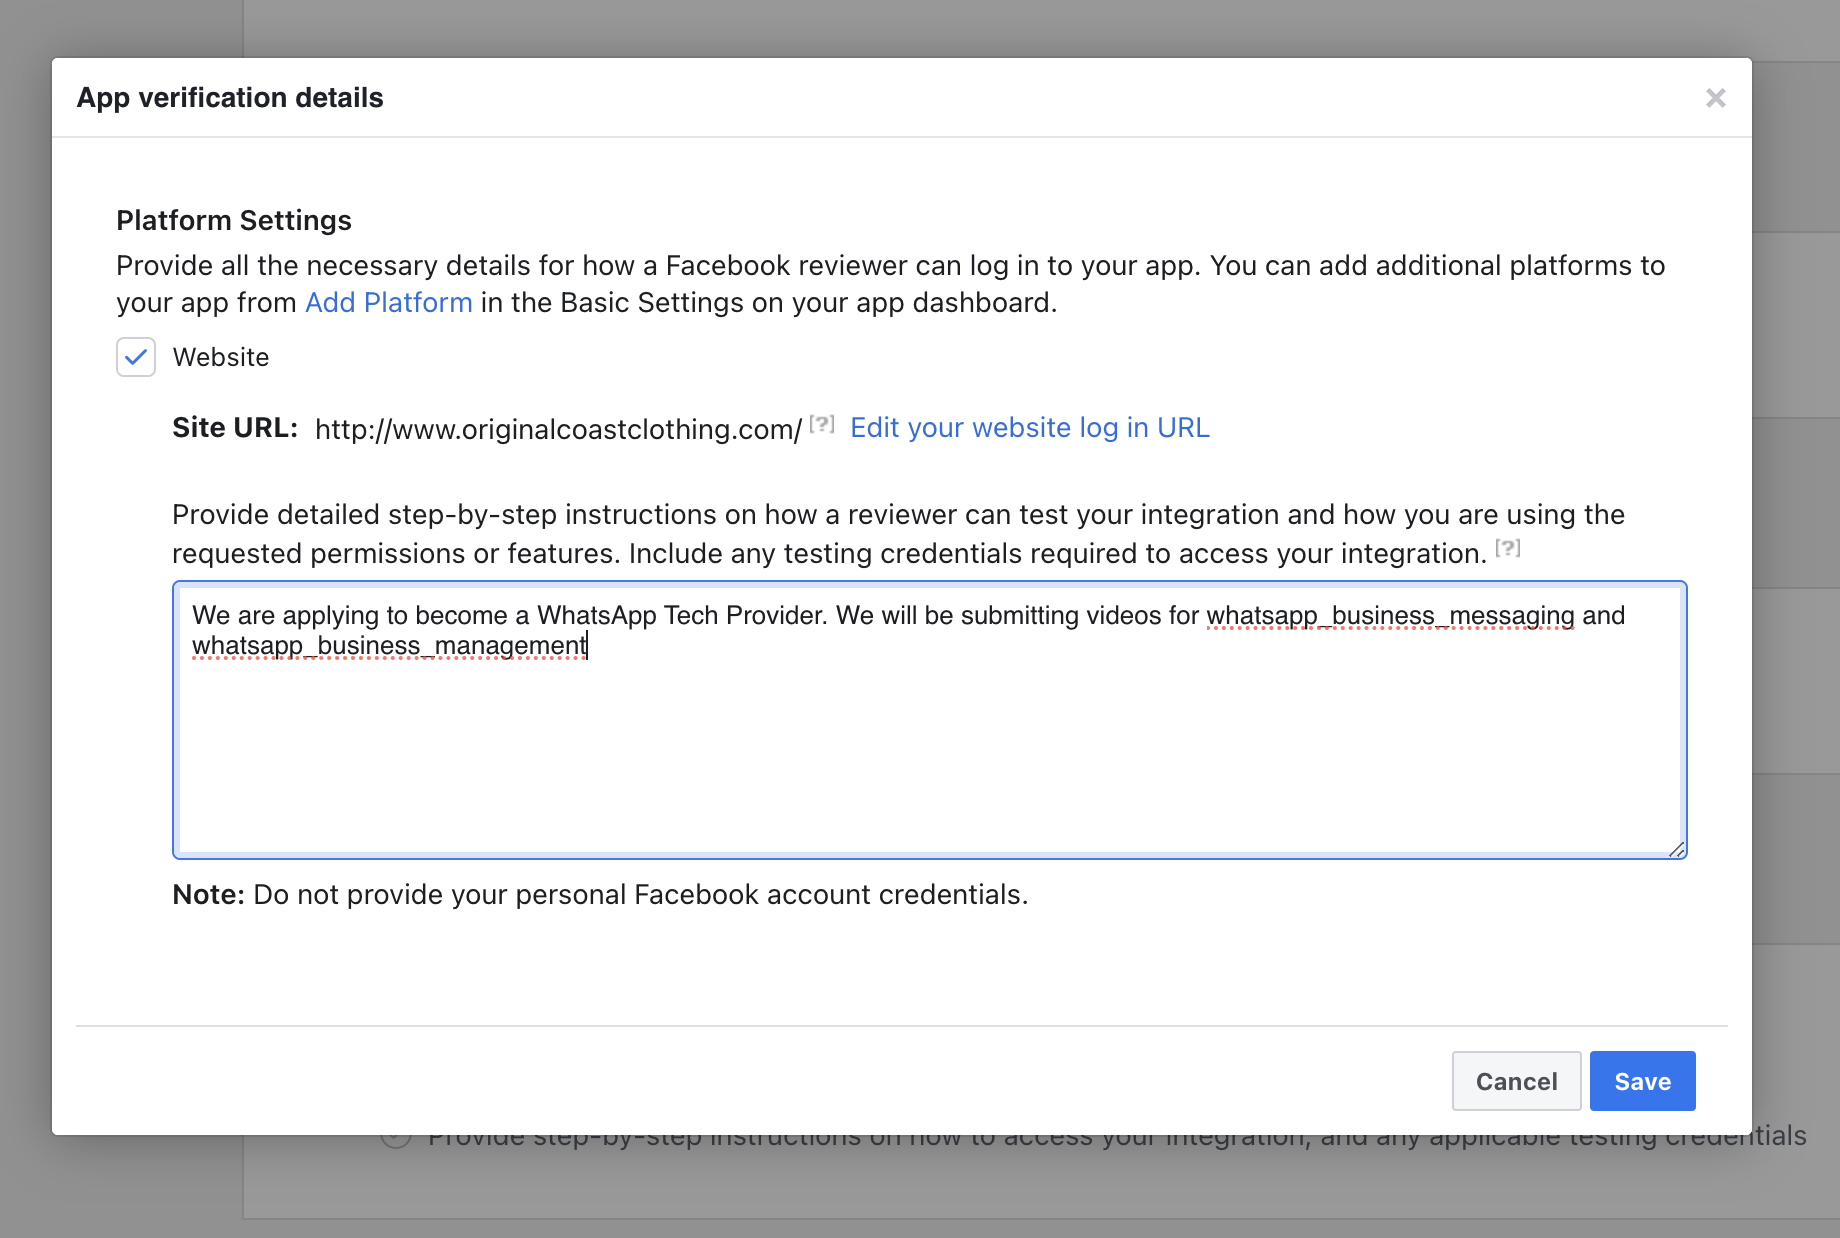
Submit documentation for App Review
Get approval to access advanced permissions and features so that your can manage your clients’ accounts and information. App Review is the process that will grant you advanced access to the following permissions which are required to become a Tech Provider.-
Advanced access to whatsapp_business_messaging will allow you to send messages for customers
-
Advanced access to whatsapp_business_management allows you to onboard customers and manage their assets.
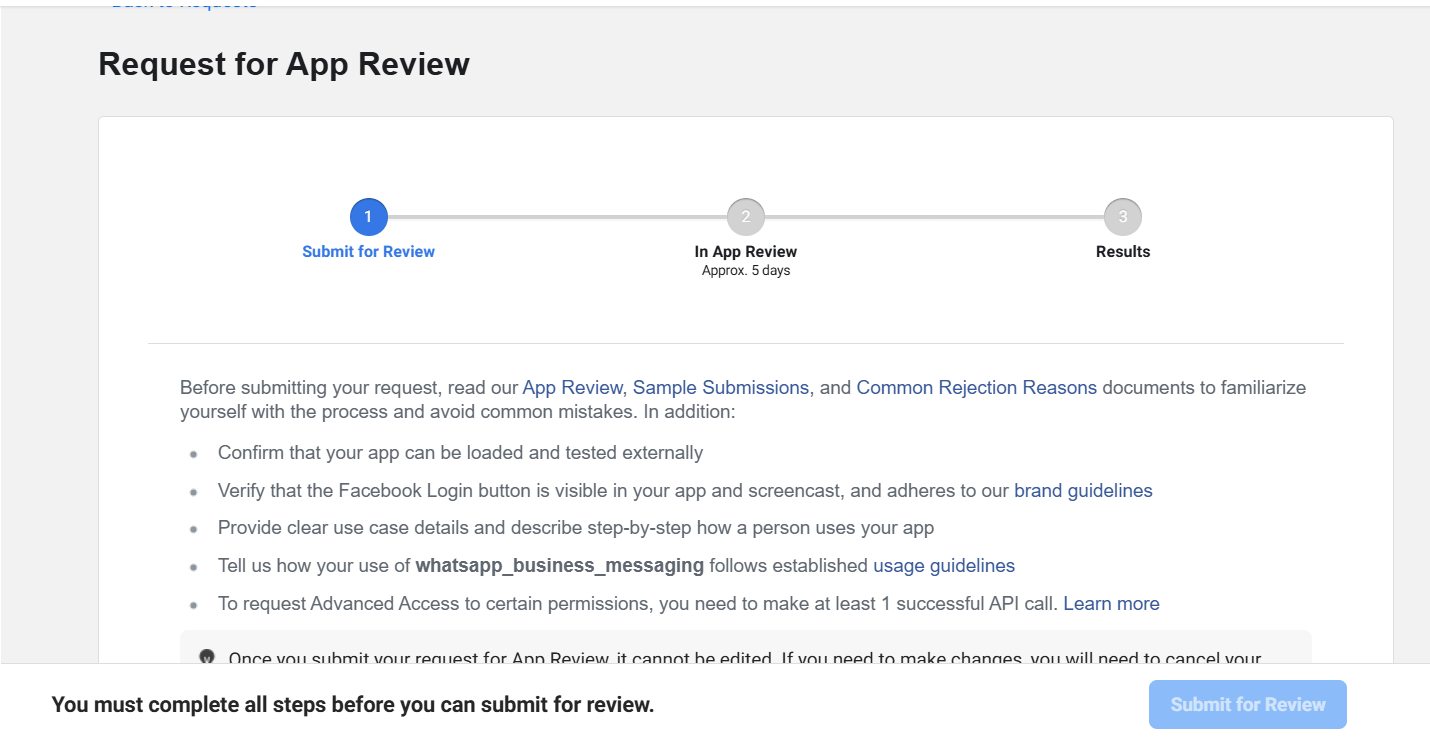
Click the Begin App Review button to start your submission.
-
-
Review your app settings
Refer clear instructions for app review as mentioned here.

- Submit your app for review
STEP 5 : Complete access verification
NOTE : Tech Provider is not a Whatsapp-only construct and if there are enforcements/benefits that are introduced for Tech Providers, that might break the solution if App Review and Access verification is not completed.
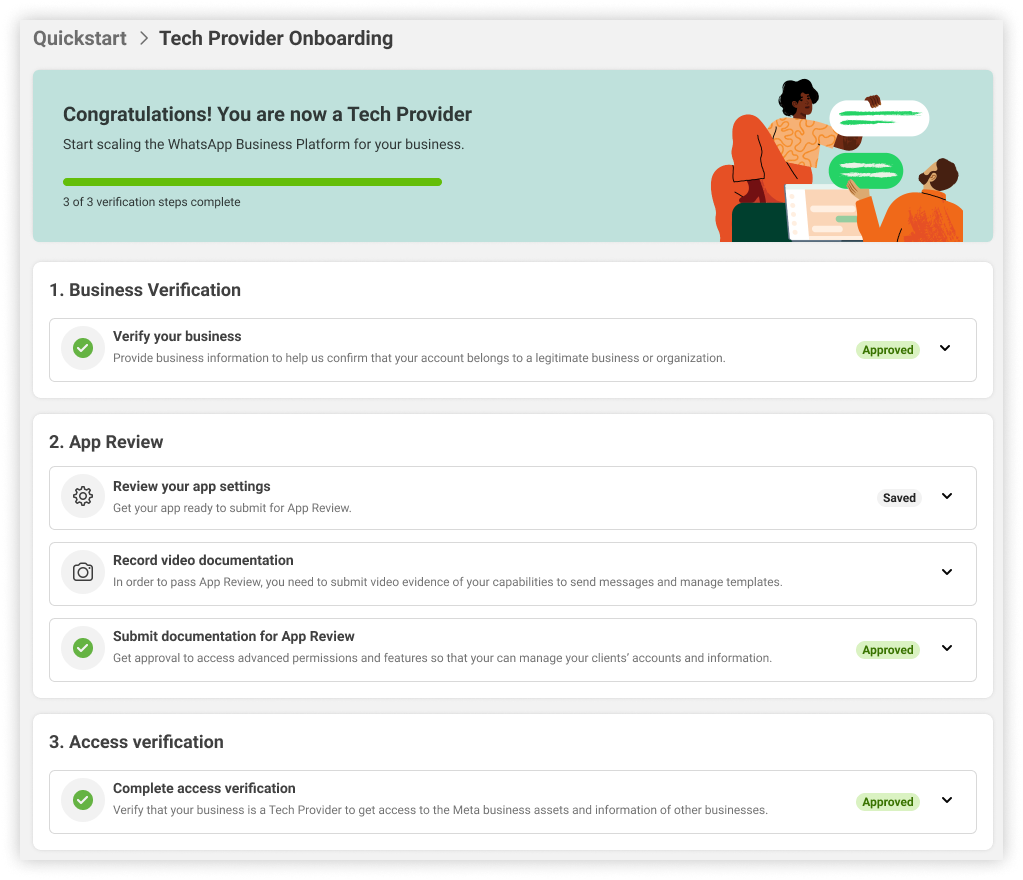
Step 6 : Wait for all approvals till your panel looks completed
Step 7 : Once you have completed all steps, the Meta app must be set to LIVE mode (from DEV mode) to avoid disruption.
Thats not all. You must now register your Partner Solution ID on Gupshup Partner portal. Thus, have your solution ID and Solution Name handy.
You can now move on to the next step.
Setup/Add New Joint Solution ID with Gupshup
If you are an existing Gupshup partner and already have a joint solution ID with Gupshup, please read this guide to understand how to add a solution ID with OneDirect.
IF YOU ARE ALREADY A GUPSHUP PARTNER AND NEVER HAD A JOINT SOLUTION ID WITH GUPSHUP
- Navigate to https://partner.gupshup.io/web/login
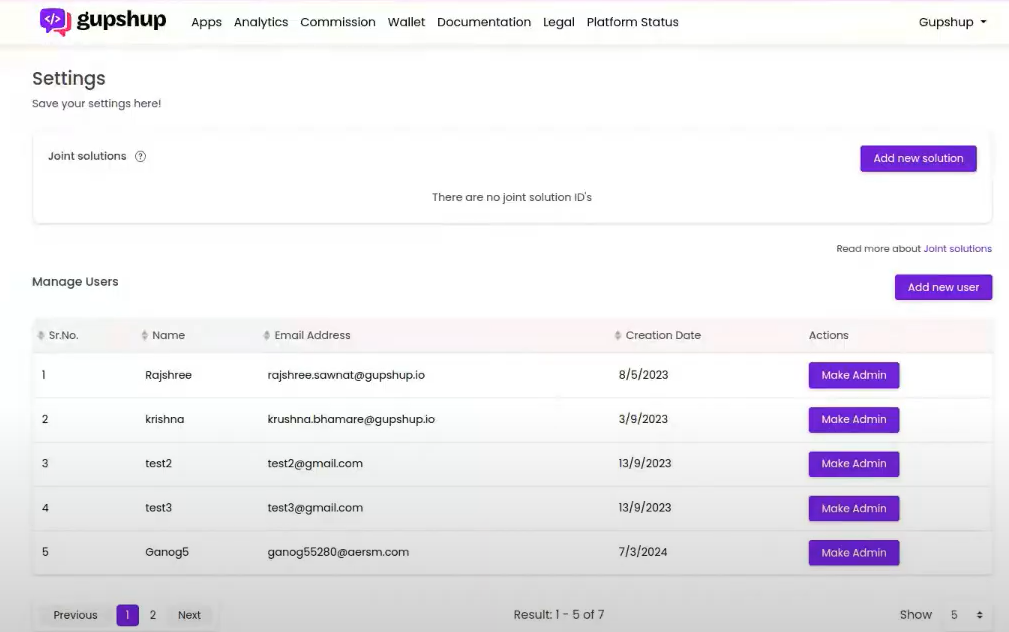
- On signing in, go to Settings (under the drop down on top right below language selection)
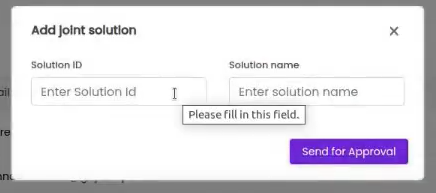
- Click on 'Add new solution'.
- Enter the Meta Solution ID and Name created in the above steps on Meta Developer Portal
- Solution ID mapping request will be sent to the partner support team for approval.
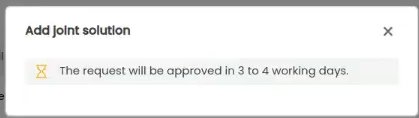
NOTE : At this point, you can continue to create apps and do go live on Self Serve portal. Apps will go live without the joint solution ID till your request is approved.
- Support team will verify the solution ID on Meta Developer Portal. If request from the given solution ID is received, the solution request will be accepted on the Meta portal as well as the solution ID will be mapped to your partner ID on Gupshup.
- Support will accept or reject the request triggering a confirmation email to you. In case it is rejected, they can re-submit the modified solution ID. If application is approved, it will show as approved in the Settings tab on Partner portal.
Phone number onboarding with Joint Solution ID
If you have multiple solution IDs, the default Solution ID will get applied while app creation and going live. Partners who use the self serve portal can continue to use the same portal, ensuring to follow below steps in the right order for joint solution ID mapping to the apps
- Create app on Self serve portal
- Link app to your partner ID [THIS IS A KEY STEP]
- Only then, go live with the app which will register the approved joint solution ID set as default on Partner Portal
In case, partner ID is not linked to the app, the approved joint solution ID of partner will NOT be registered with Meta, thus it will not show for attribution with the Tech Provider at Meta.
Also, old live apps linked to same partner ID will not be linked to the solution ID automatically with this process.
IF YOU ARE A NEW OR POTENTIAL GUPSHUP PARTNER
Signup as a Gupshup ISV
- Navigate to the https://partner.gupshup.io/web/login
- After signup, you will need to verify your email ID and set a new password.
- Login again with the set credentials.
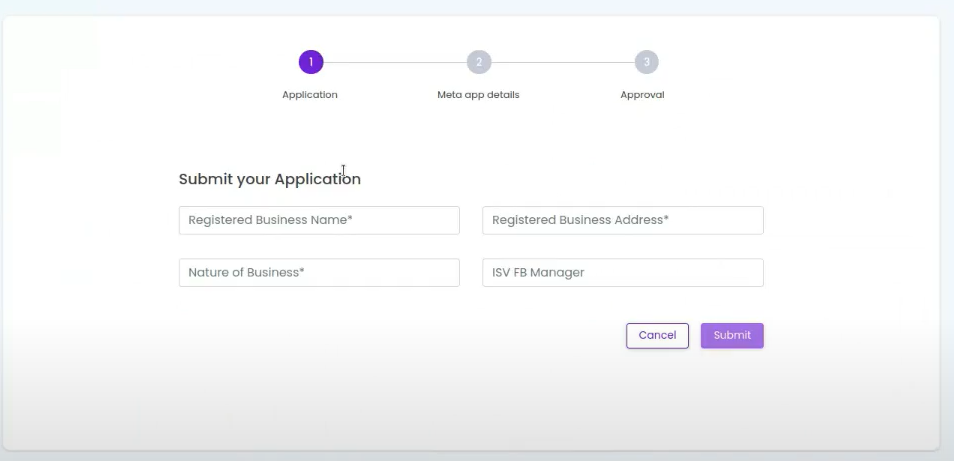
- Fill all the necessary fields provided to proceed ahead.
- Read all the Gupshup terms and conditions. You must agree to them if you move ahead. And then fill in the other details.
- Enter the Meta Solution ID and Name created in the above steps on Meta Developer Portal

- Partner creation request will be sent to the partner support team for approval.
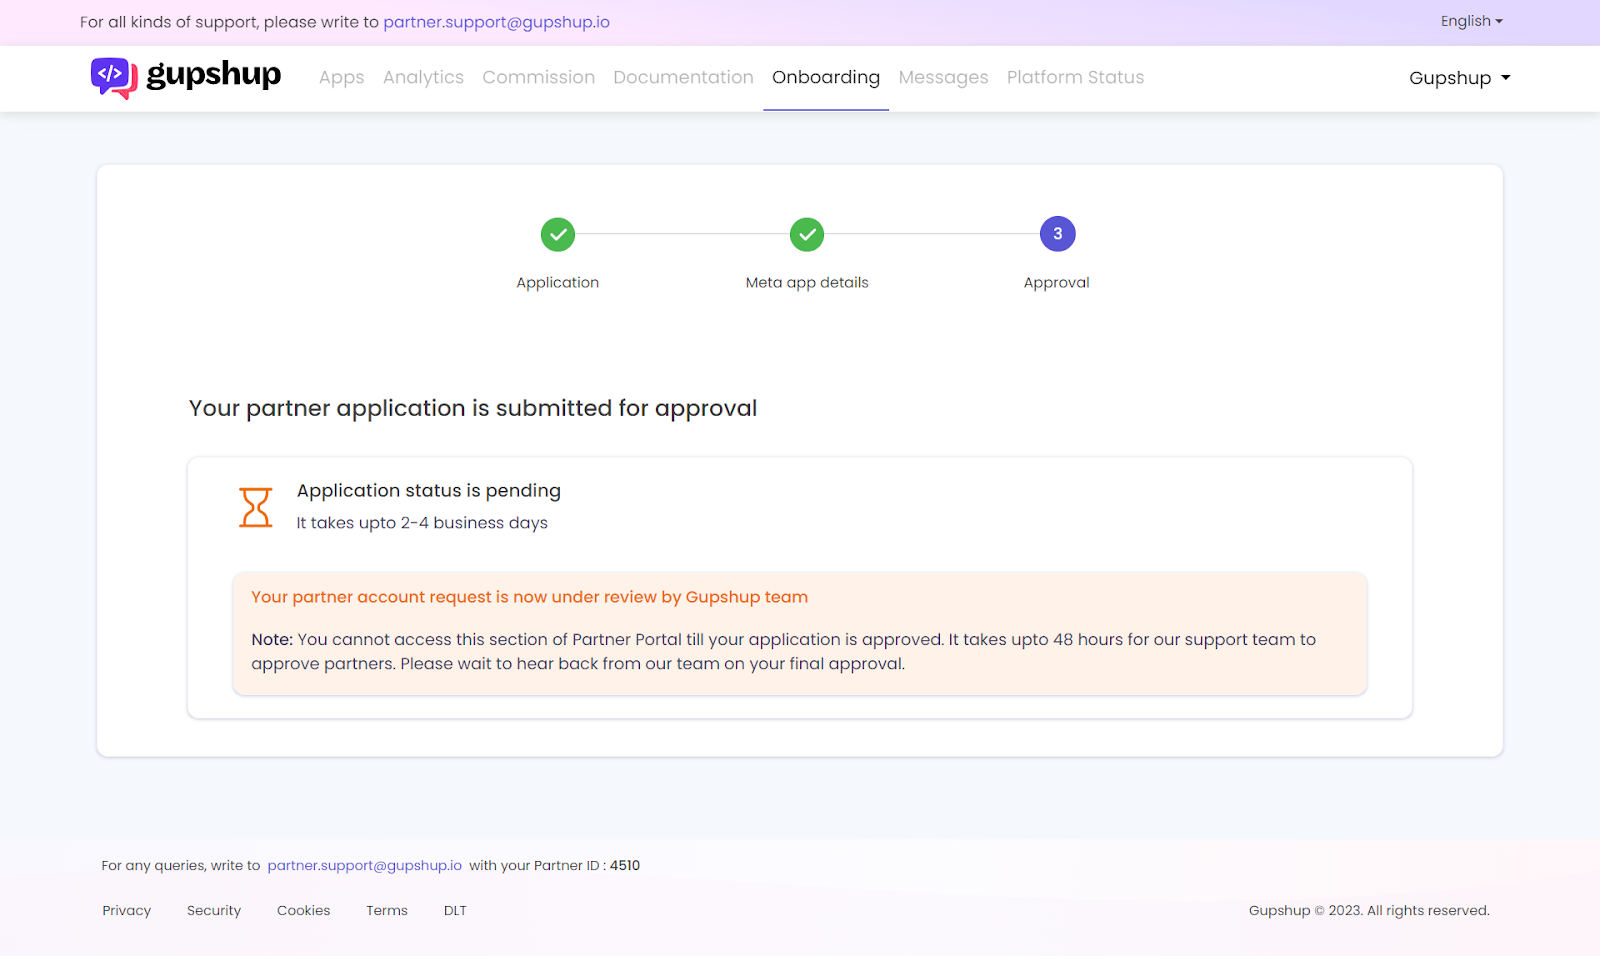
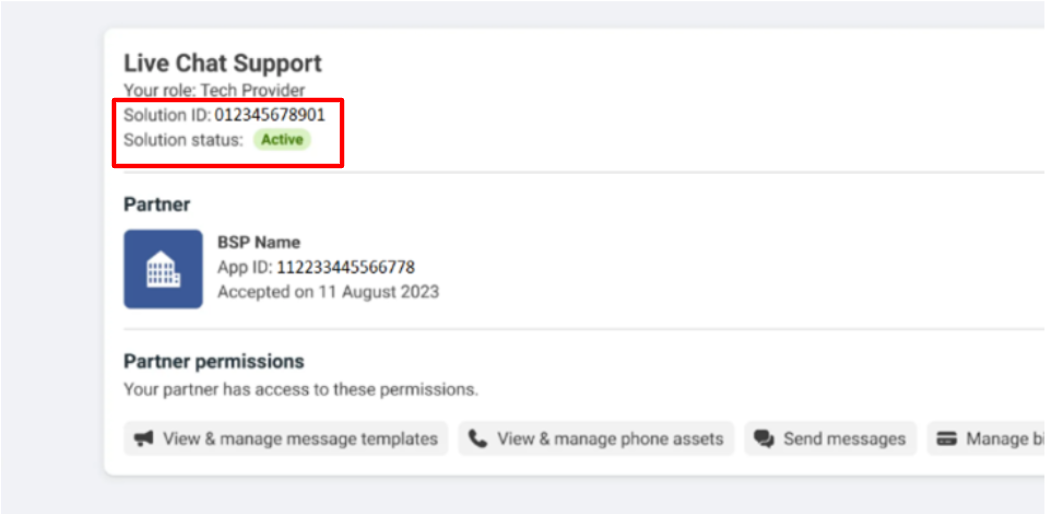
- Support team will verify the solution ID on Meta Developer Portal. If request from the given solution ID is received, the solution request will be accepted on the Meta portal as well as the ISV will be approved on Gupshup. The solution will be displayed in the solutions panel as 'Active' only once Gupshup accepts it
- Support will accept or reject the request triggering a confirmation email to you. If your request is approved, the remaining tabs will be enabled for the partner. In case the partner application is rejected, they can re-submit their application with modified solution ID.
To know how to use the partner portal - create WABA or manage wallet, refer this article.
Note: Partner Portal supports the Admin and the User role. The Admin role has the advantage of adding more users.
Refer this guide for Multi-partner solution for updated details
Updated 22 days ago